
When creating, it’s common to want to overlay an image onto a background to give it more depth. This may be accomplished in Photoshop by clipping a picture onto the layer underneath it.
The question then becomes, what if we want the background picture to dictate the form and crop of the image on top of it?
Clipping Mask is used to manage the visibility of a layer that is clipped on top of another layer by using a feature from the background layer.
As soon as you learn how to utilize Clipping Masks, you’ll find that they save you a significant amount of time when producing stunning composite pictures.
Table of Contents
What is a clipping mask?
A clipping mask, also known as a Photoshop mask, is a layer that has been clipped inside another layer or group in Photoshop.
In most cases, a clipped layer will only be seen inside the borders of the layer it is cut into, which is known as the “base” layer in Photoshop.
Once a different layer is clipped into a base layer, the base layer will become underlined, indicating that it is a base layer.
A clipping mask is helpful if you wish to fill a shape or any kind with distinct pictures that are spread over several levels.
Using the procedures shown here, you may open a picture and convert the Background to a layer in Photoshop.
Create a shape on another layer using the Custom Form, and place it beneath the photo layer. Then, using a clipping mask, establish a separation between the photo layer and the shape.
A new layer with a fill of white may then be created and placed at the bottom of your composition. To make your clipping mask, simply follow these instructions.
How to create a clipping mask in Photoshop?
Clipping masks regulate the layer’s visibility above by using the content and transparency of the layer below. Let’s examine what happens if we make a clipping mask out of our two layers.
Step 1: Open the image file
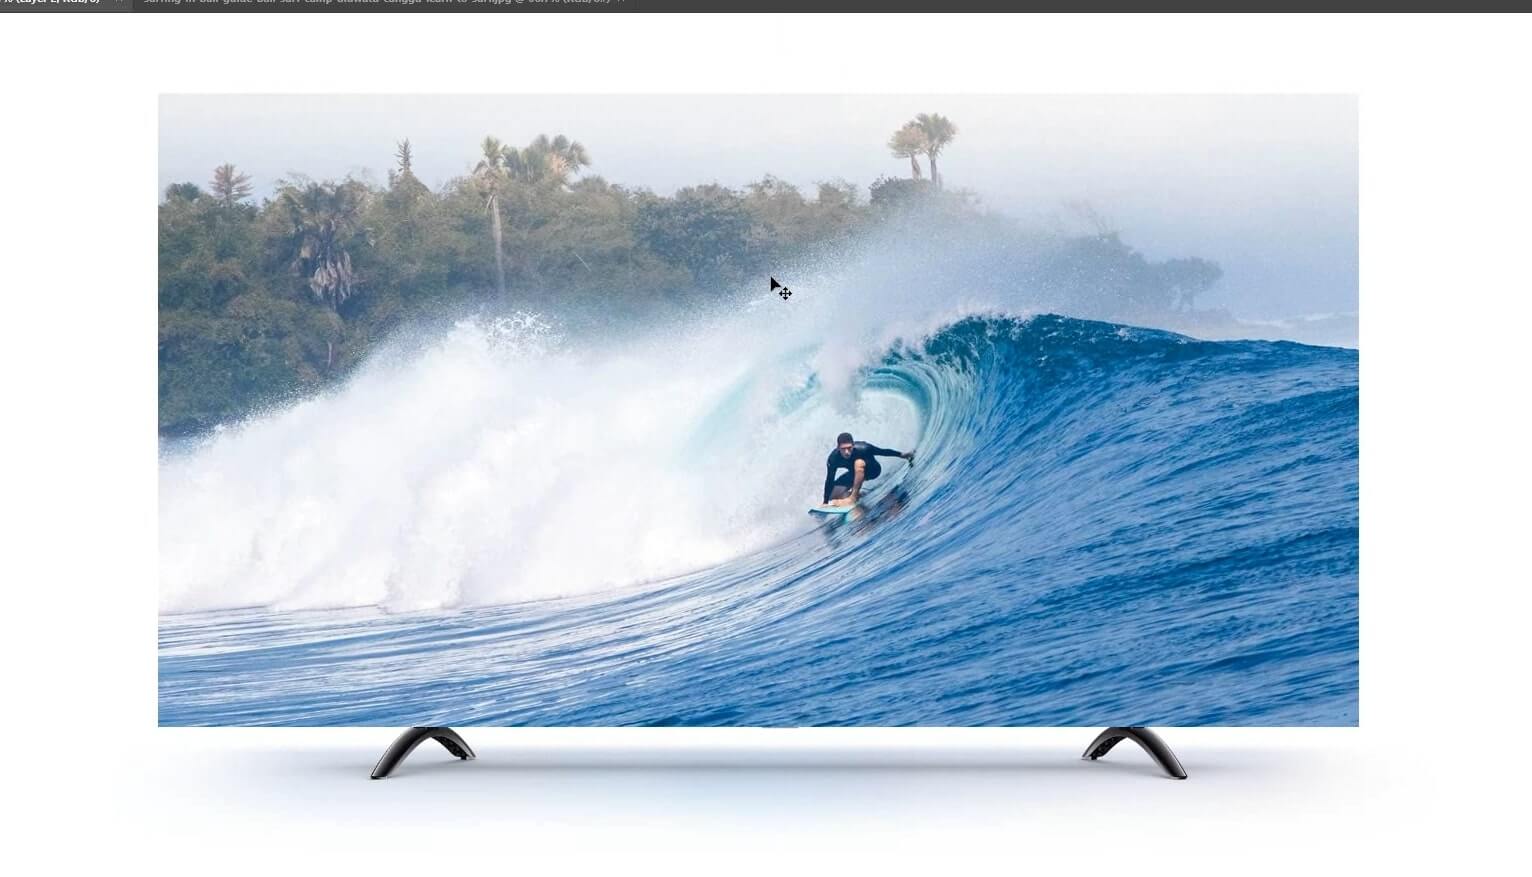
Open both the images which you want to edit in your photoshop version. One in which you will create a clipping mask and another one which you will copy paste in the clipping mask area.

Step 2: First click on the tab of the image on which you want to create a clipping mask
Open the image on which you want to create a clipping mask and click on the path option from the toolbar.
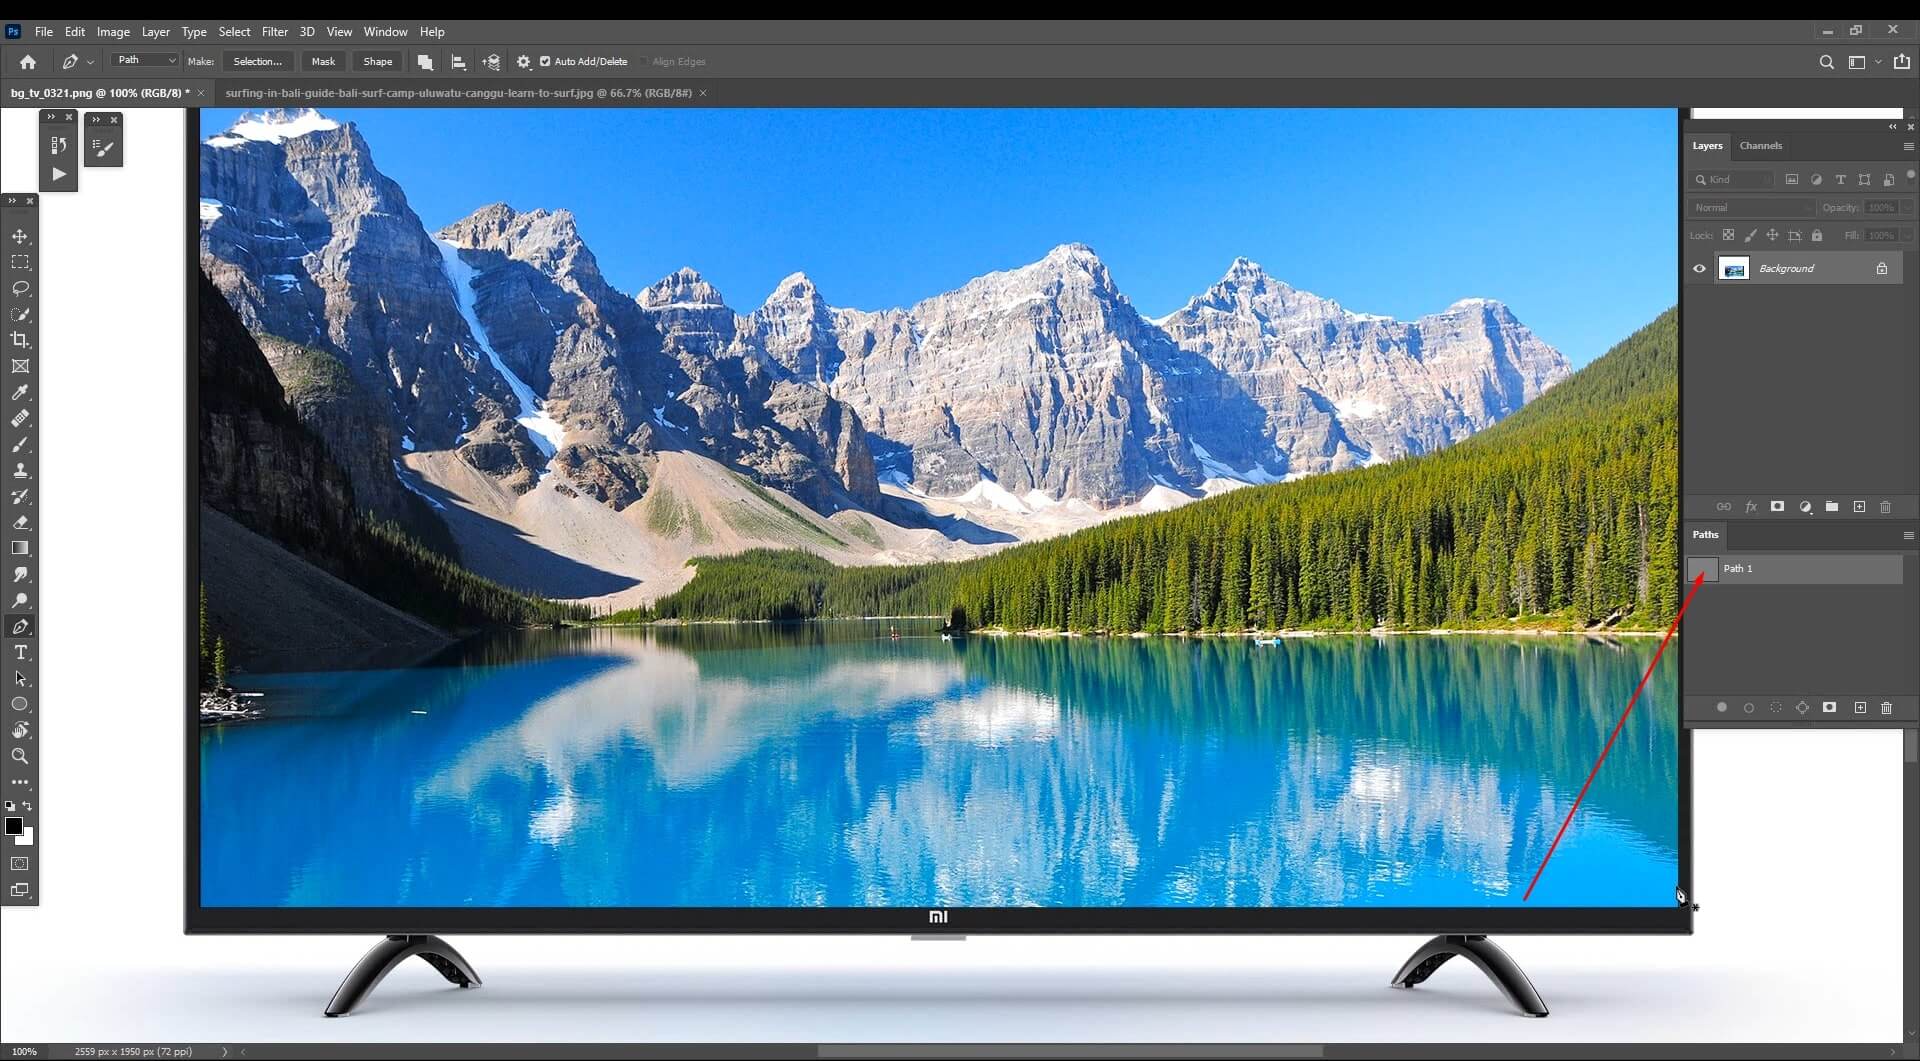
Step 3: Start creating the clipping path
Create a clipping path in the image area where you want to put the other image.
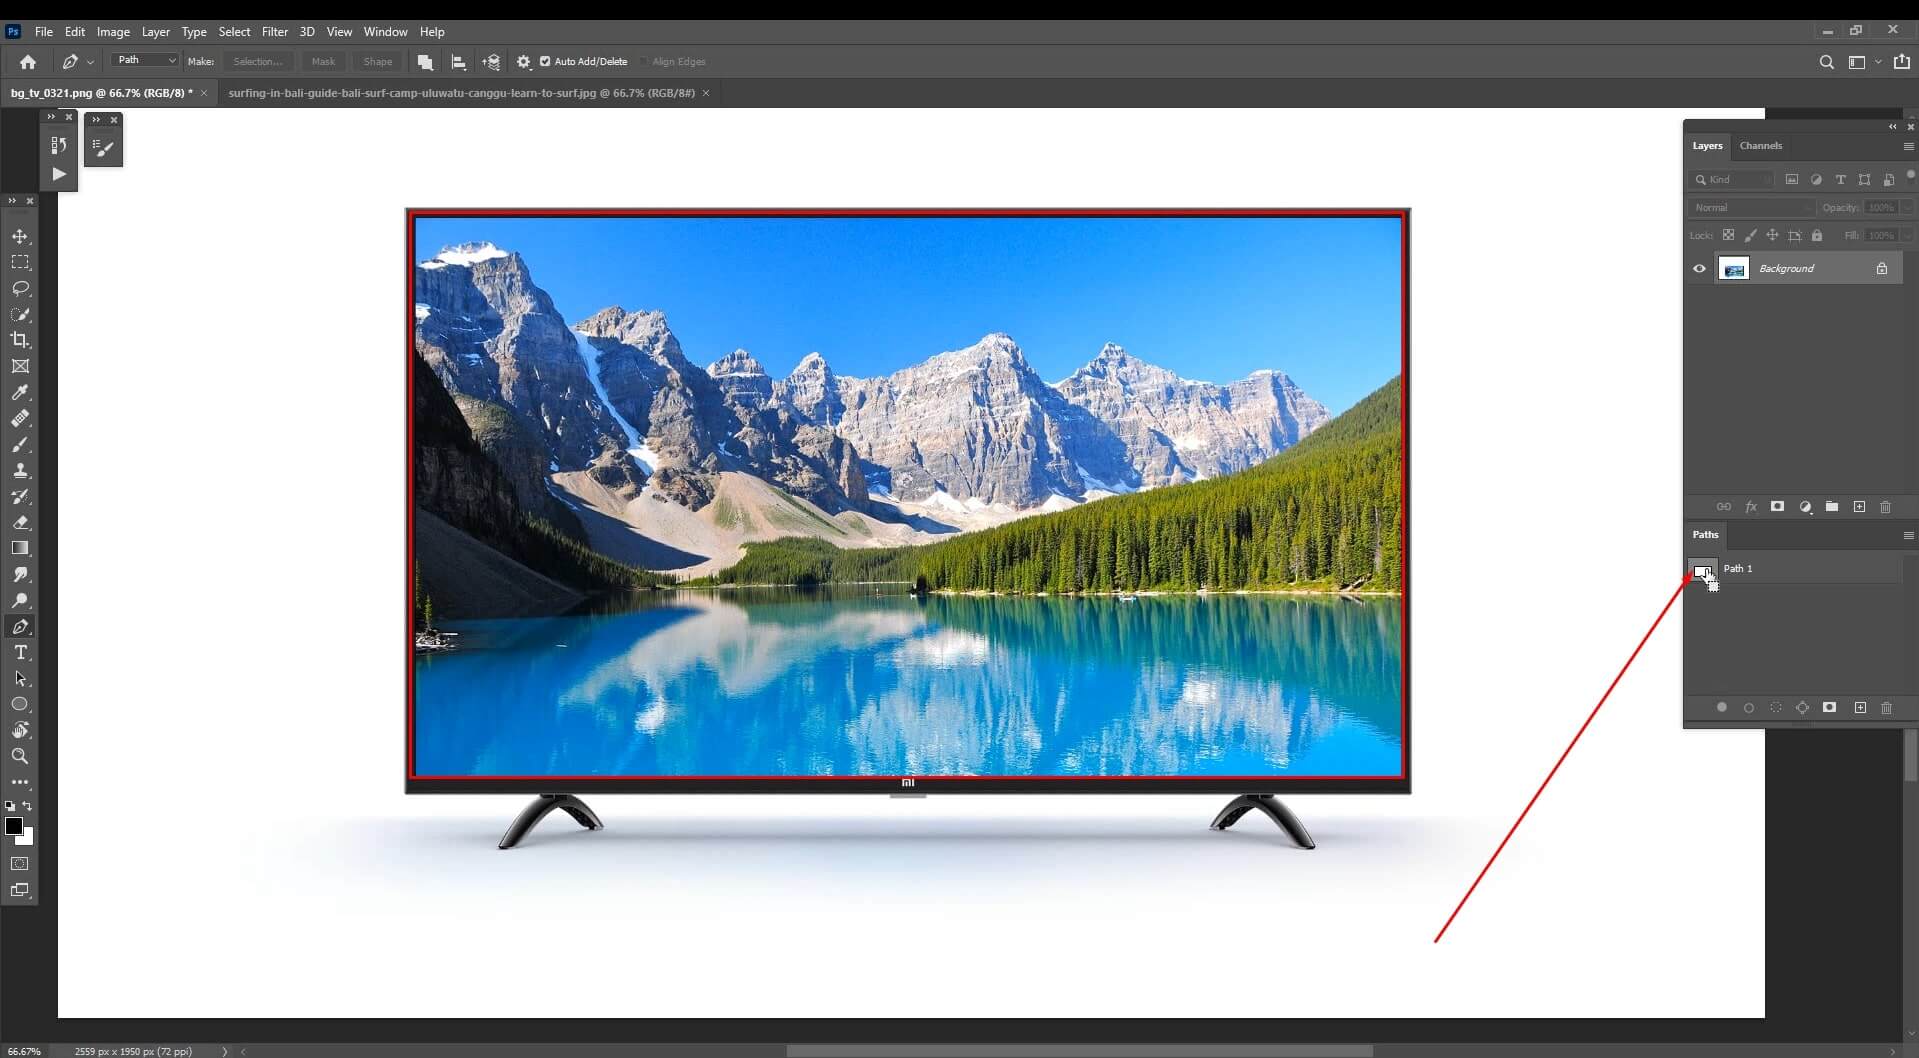
Step 4: Click clipping path from the bottom symbol in the path toolbox and then apply feather
Click on the path option from the bottom symbol in the path toolbox and apply feather by going to the Select menu, select Modify » Feather. Give feather pixels 0.3 in the feather selection toolbar.

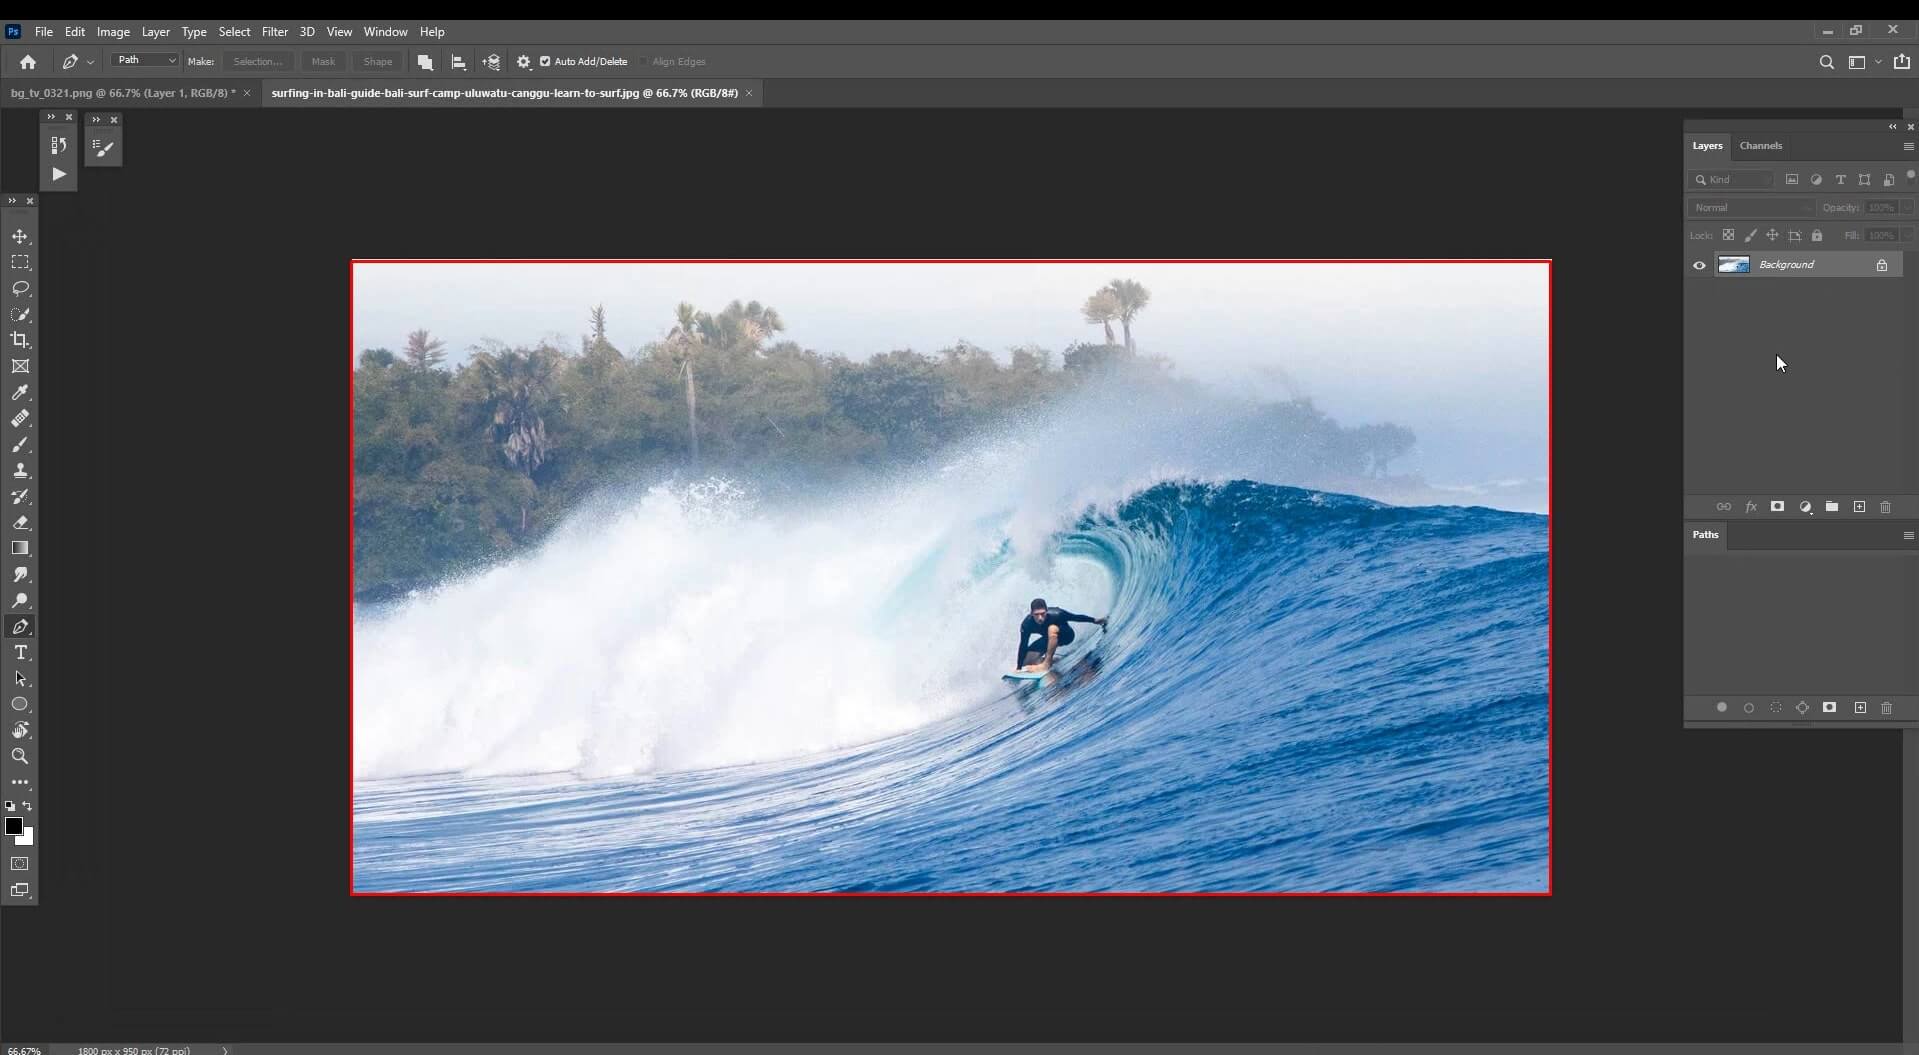
Step 5: Copy the image you want to place and paste in the clipping mask tab
Copy the other image which you want to replace and paste in the clipping path file.
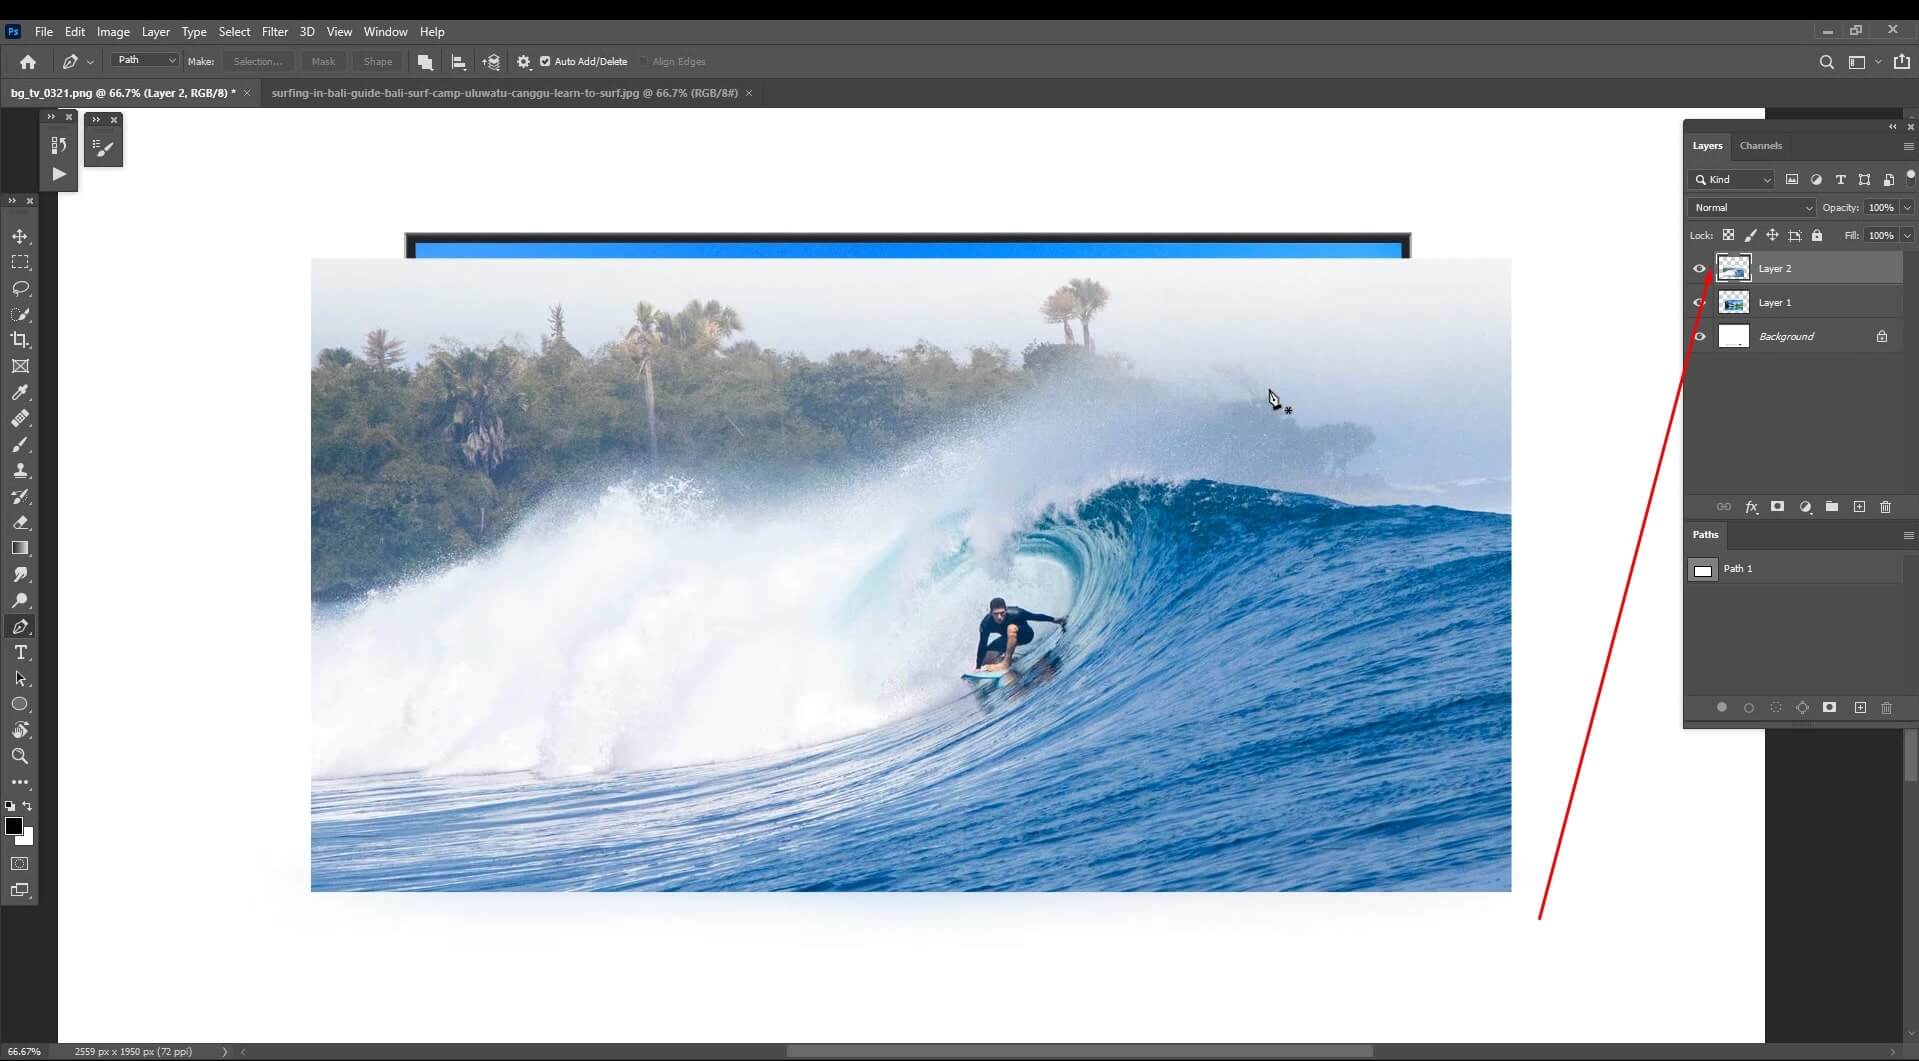
Step 6: Place it where you require in front of the clipping mask area

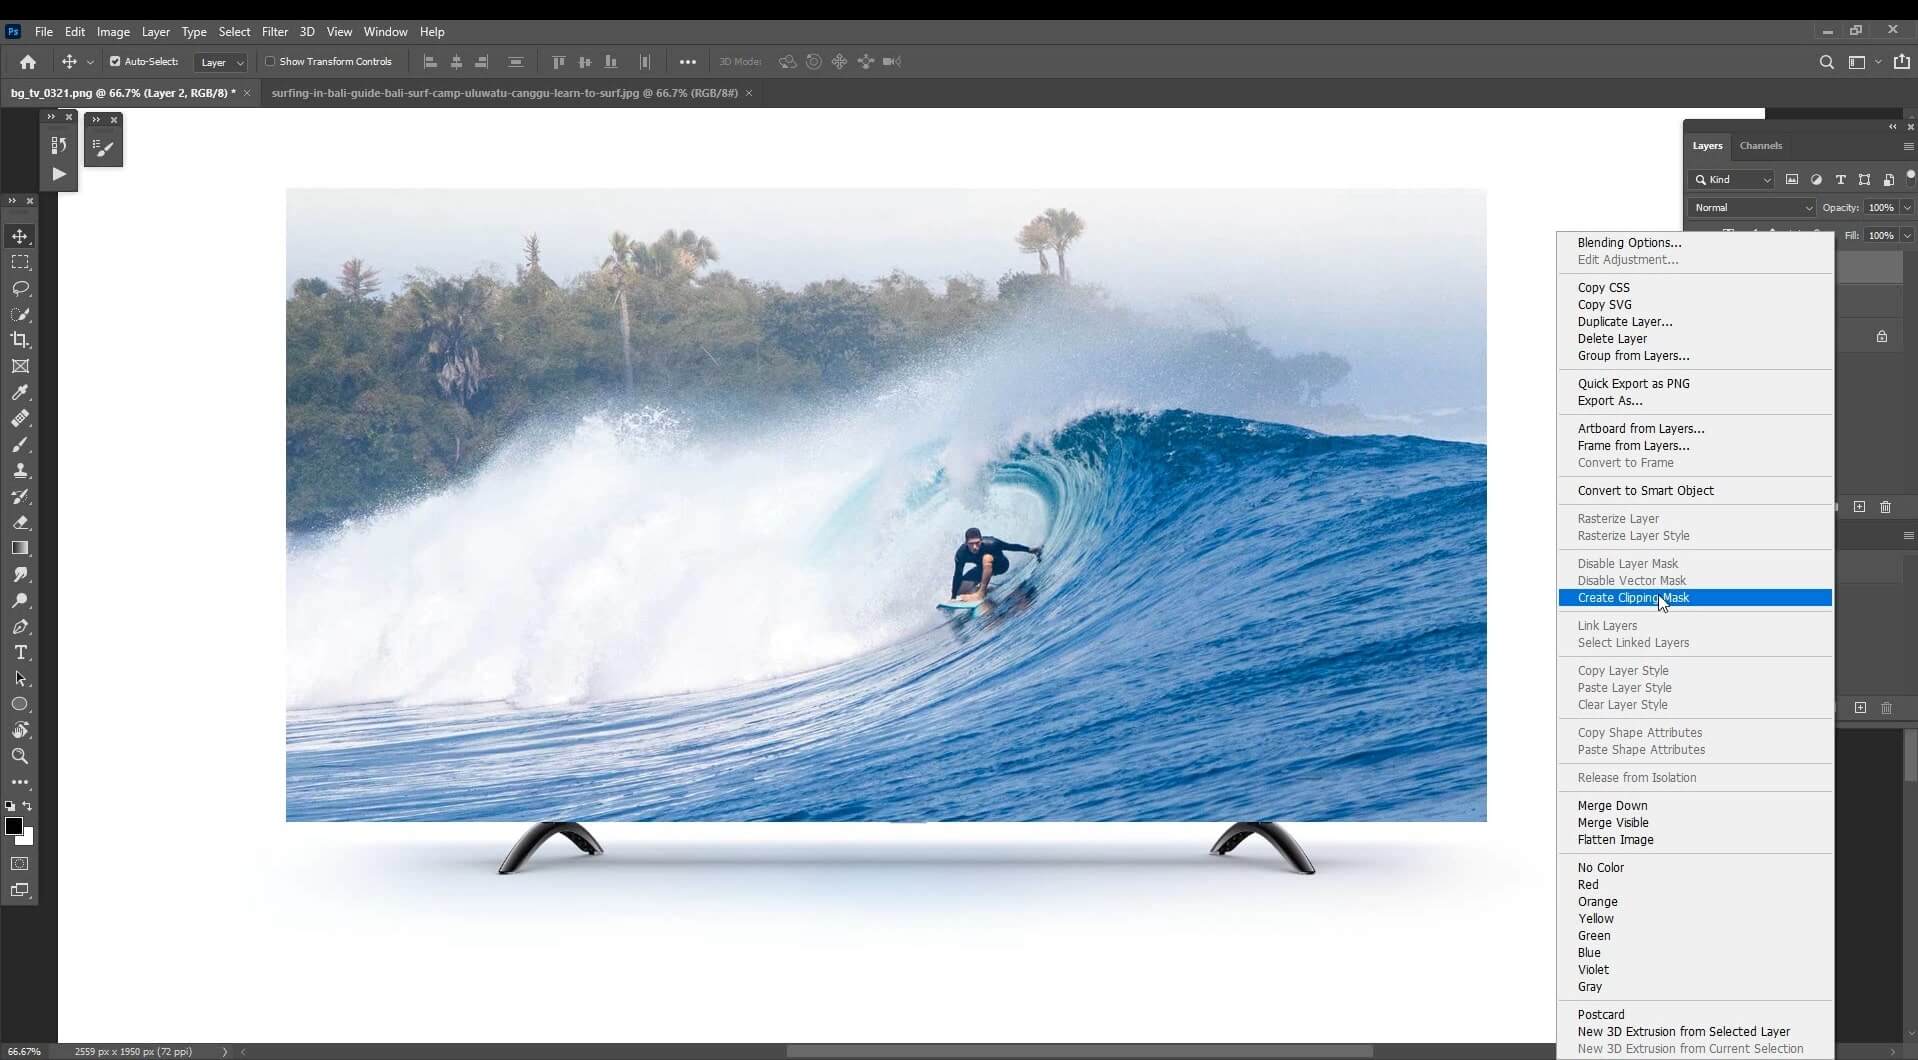
Step 7: Right click layer and select ‘Create Clipping Path’
Right click on the layer that you pasted and select the option ‘Create Clipping Path’.
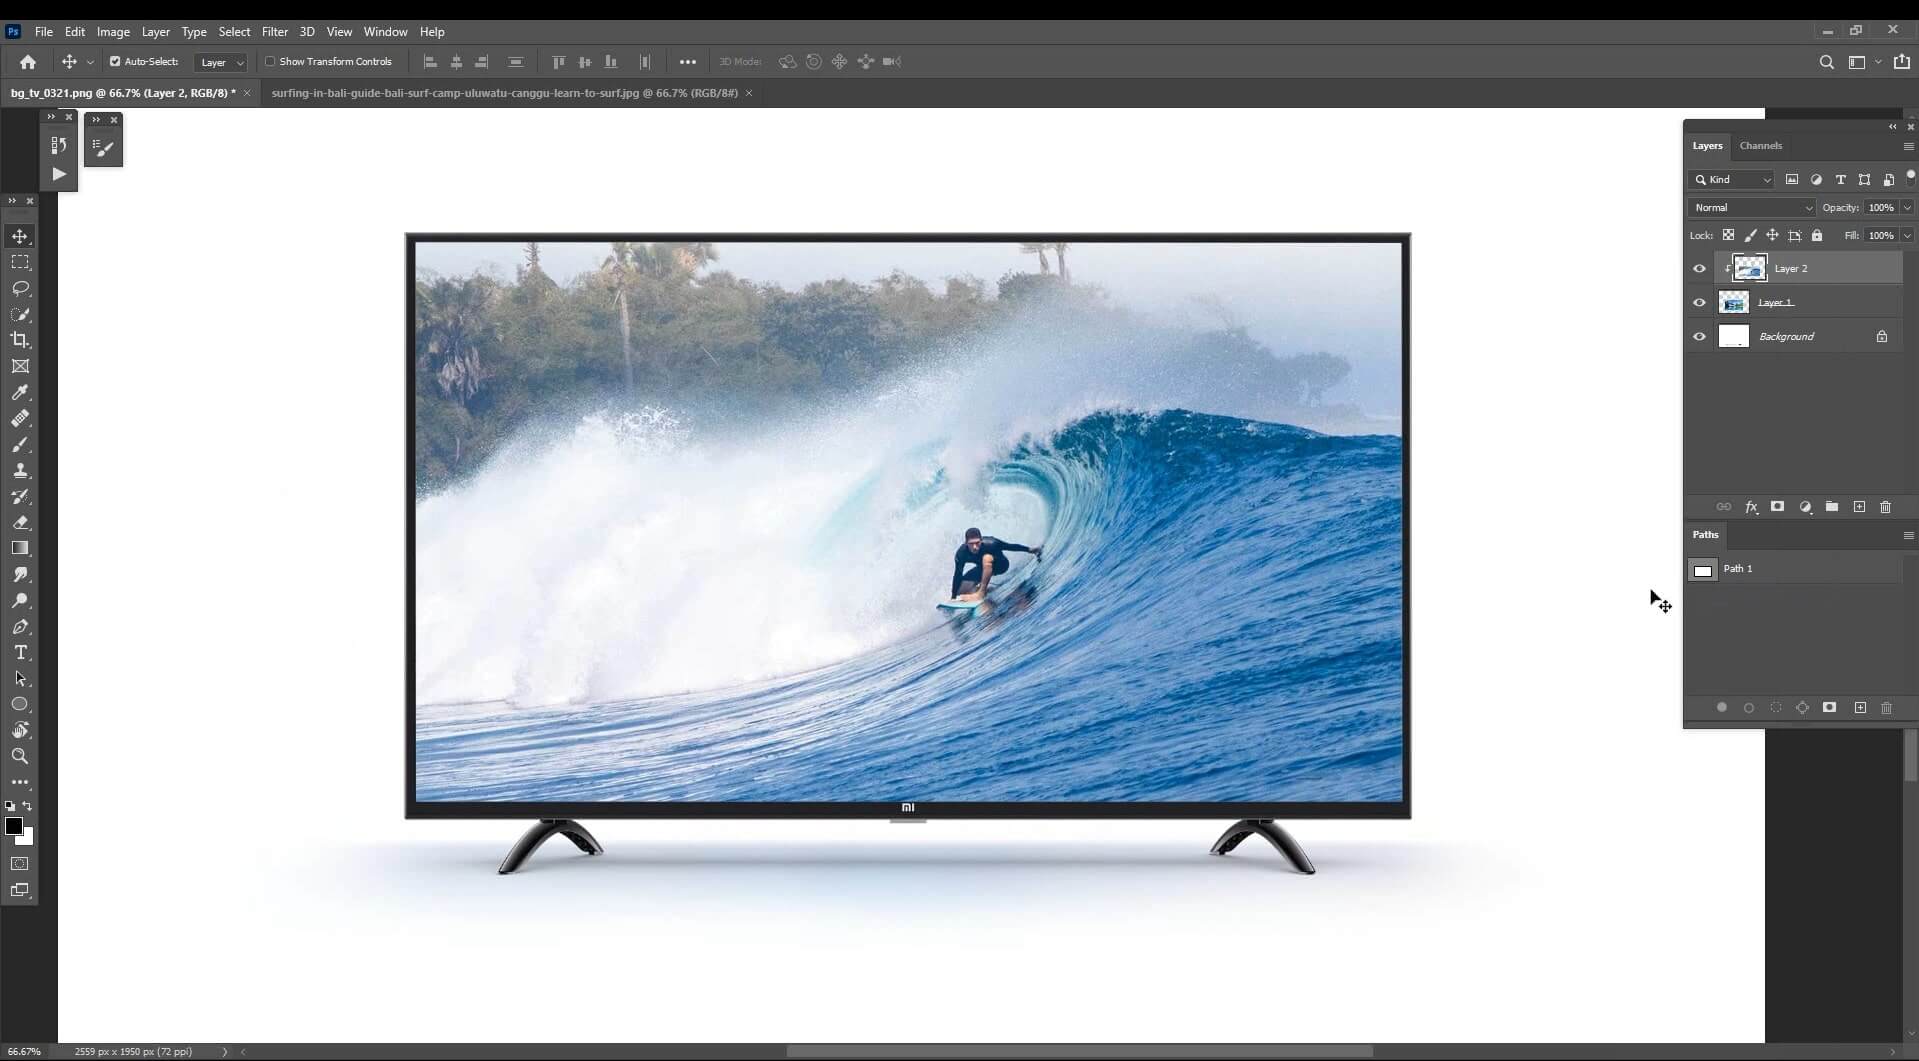
Step 8: Done with the clipping mask
Your picture will automatically be placed in the clipping mask area.
Difference between a layer mask and a clipping mask
When comparing a clipping mask to a layer mask, it’s helpful to think of both as the same thing.
You create a layer and then add a layer mask on top of it with a layer mask. The mask is then filled with black to cover the layer underneath or white to shine through.
You have two layers: a lower layer containing your information and a top layer with a mask that restricts what may be viewed.
On the other hand, Clipping masks are a different way of regulating what can be seen in a pair of layers in Photoshop since they use the layer below to decide what can be seen of the one above.
Layer masks operate by determining what can be seen of the layer below based on the black and white of the layer above. In contrast, clipping masks work by deciding what can be seen of the layer above based on the layer’s pixels below.
Tips for Using Clipping Masks
The beauty of Photoshop clipping masks is that you still have a lot of control over what you’ve done.
Here are some pointers to help you get started.
Move material within a clipping mask.
Within a clipping mask, repositioning content is simple. First, select the Move Tool from the Toolbar or press V with the topmost layer selected. The photograph that we placed inside the picture frame may then be moved around by clicking and dragging.
Resize content within a clipping mask
We can use the Free Transform tool to adjust the size of the photograph we’ve put to our picture frame using the clipping mask. Then choose “Edit” and “Transform.” Alternatively, use Command + T on a Mac or Control + T on a PC (Windows).
You’ll see a blue frame surrounding the photo, which you can move to resize within the “frame.”
When you resize the photo, the dimensions will stay the same.
Adding more clipping mask
You can keep adding clipping masks to a layer, which is useful when you simply want to alter the clipping mask you made previously.
Assume we wanted to make the picture in the frame black and white in our example.
To do so, create a new adjustment layer and select ‘Black & White’ from the drop-down menu. You’ll see that the entire image is now entirely lacking in color.
That adjustment layer can, however, be applied to the Rectangle layer below. Then repeat the previous steps by clicking in between our Black and White adjustment layer and the layer below while holding Option (macOS) or Alt (Windows).
When you click the clipping mask icon, it will be applied to the Rectangle layer above.
By converting that adjustment layer into a clipping mask, you can build your adjustment.
To conclude, learning about clipping masks may be beneficial for producing composite pictures in Photoshop. Such as making a photograph look as though it is in a picture frame or lighting some text on fire to make it appear more vibrant and eye-catching.
Photoshop clipping masks may also be a helpful tool for controlling the changes you make to a picture since they enable you to fine-tune modifications and target certain sections of the image with ease.
Understanding clipping masks is a valuable addition to your arsenal of Photoshop methods after you’ve gotten your mind around how they work.
You could find yourself utilizing them more frequently than you anticipated once you’ve gotten your head around how they work.
Try Cut Out Bees for free
Use Cut Out Bees to get more conversions for your online store with better product images.
Product Photo Editing | Clipping Path | Background Removal | Shadow Creation | Invisible mannequin | 360-degree Spin | eCommerce Photo editing | Model Retouching