Customers may completely abandon your online business if your product photographs are sloppy or unpleasant.
To take excellent product photographs, you do not need to be a professional photographer. Any product image that you want to include in your online store can be enhanced using photo editing tools such as Photoshop.
The following article will assist you in understanding some fundamental and advanced ways for editing product images if you have no prior experience with Adobe Photoshop.
If you’re thinking to beat online eCommerce competition, you should focus on your product image quality to make a better engagement rate than your others competitor.
You’ll learn how to edit dynamic and engaging photos, including removing flaws and creating a ghost mannequin effect.
Using Adobe Photoshop, learn how to edit product photos in Photoshop. The following are some of the basic procedures in editing a product photograph.
Table of Contents
Step 1: Remove Dust Particles, Scratches, and Marks
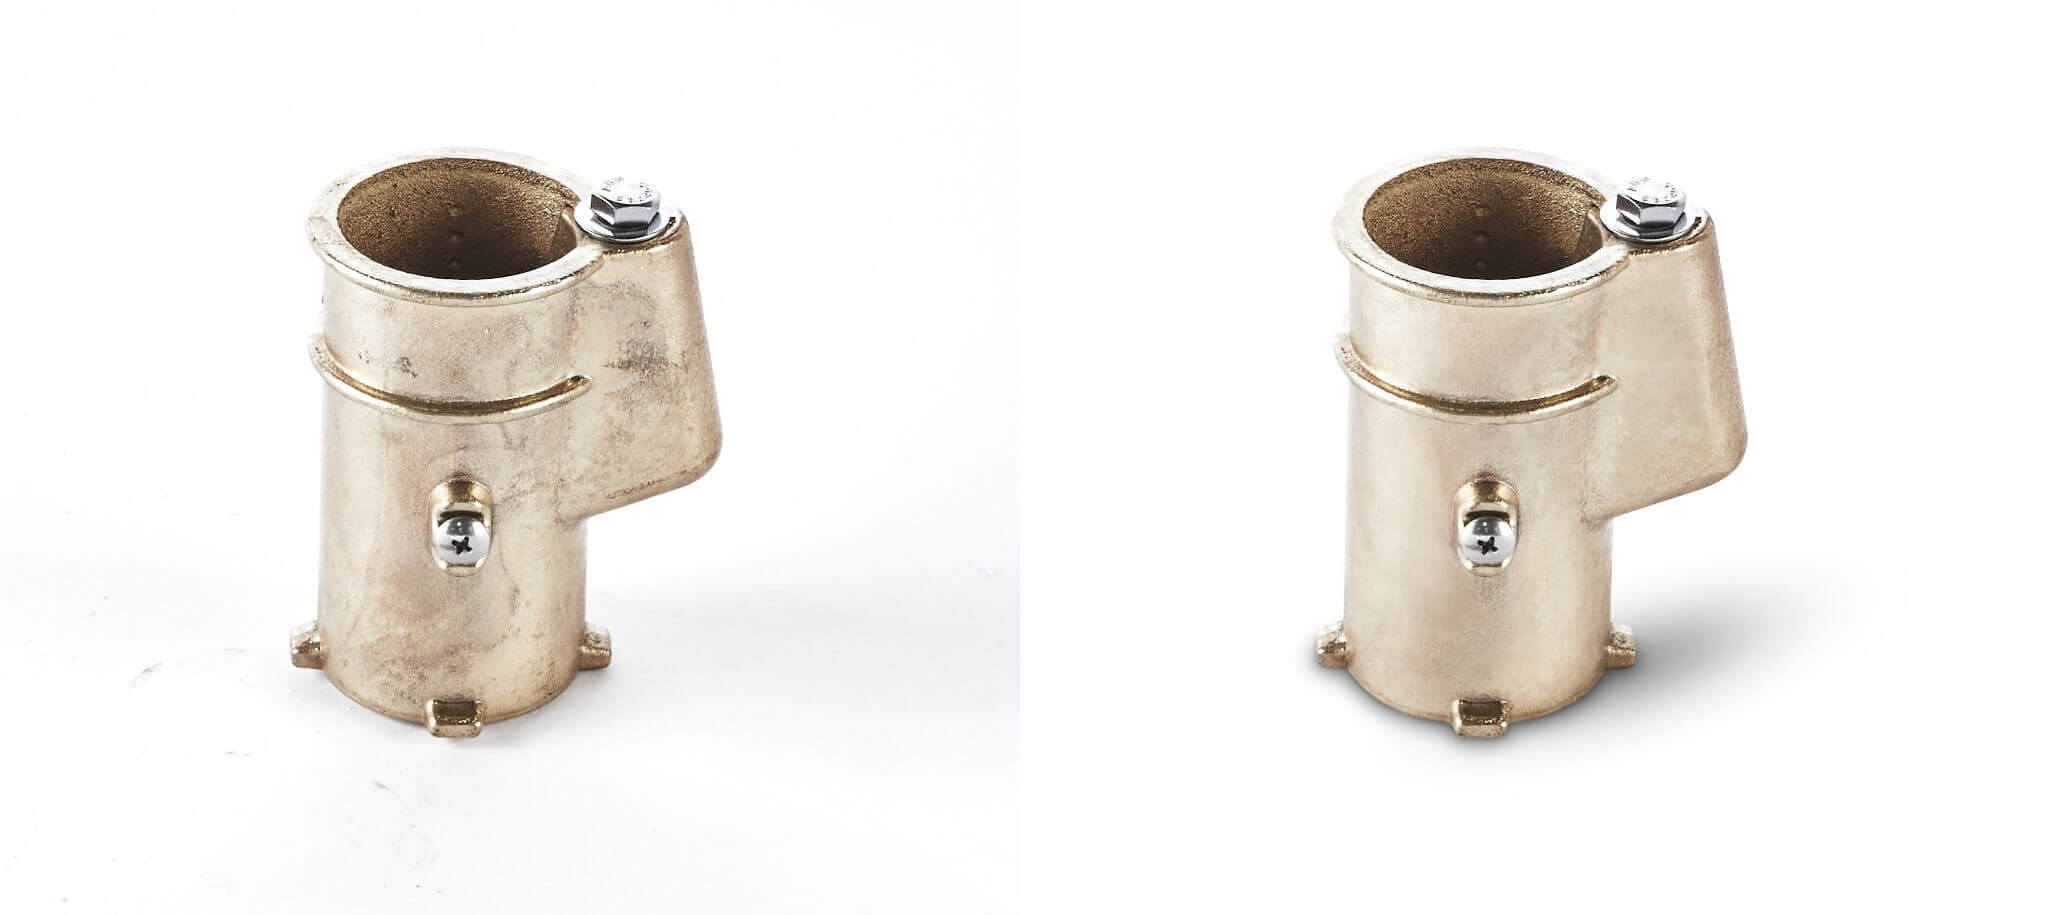
It is necessary to remove any dust particles, scratches, and marks from the surface. When it comes to cleaning up the product, the Clone Stamp tool works the best.
Create a duplicate of the background layer first. Then, you’ll always be able to go back to the original snapshot in this method.
To duplicate the background layer, right-click on it and select ‘Duplicate Layer.’
Choose the Clone Stamp from the toolbar on the left-hand side of the screen.
Alt-Click the cursor right near a location you want to remove the stains or dust particles by painting over them.
To cover the location, Photoshop will use pixels from the area around it. Repeat until the image is free of blemishes.
Step 2: Correction of Color
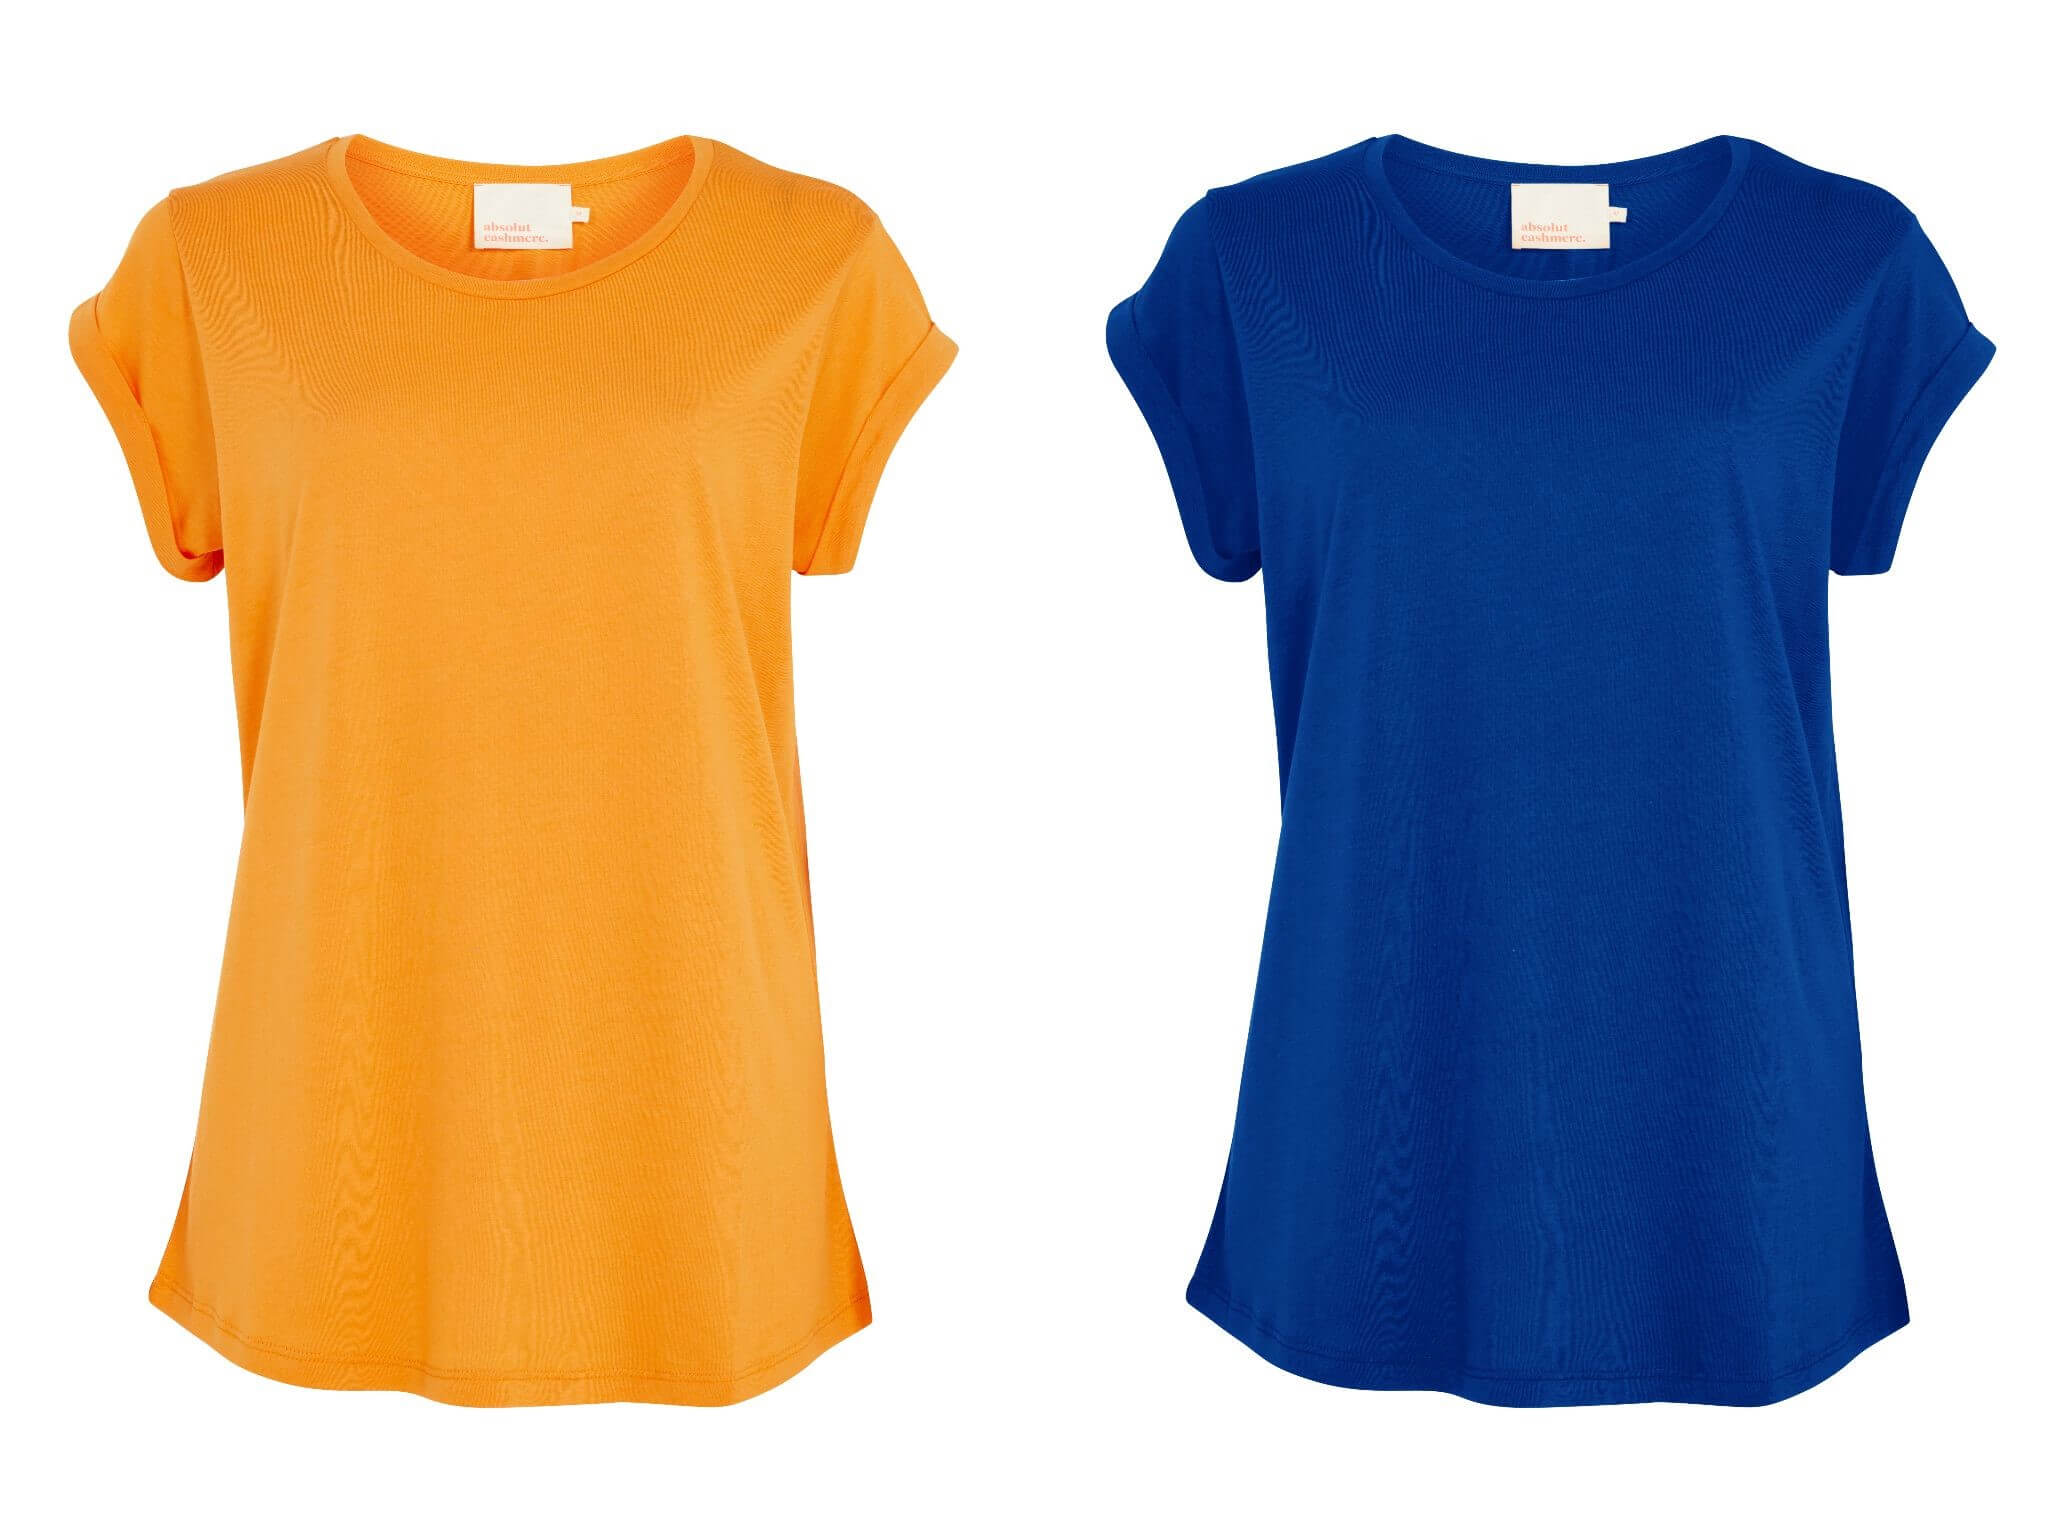
The product’s colors in the photo must match the product’s color in real life. Therefore, when people place an order, they expect to receive the exact product they saw in the photo.
If it isn’t the same, they’ll be dissatisfied with the service.
Select ‘Color Balance’ from the ‘New fill or adjustment layer’ drop-down menu at the bottom of the Layers window.
To give the image a warmer tone, move the sliders towards Red and Yellow. Then, from the toolbar, choose the Paint Brush.
Ensure the layer mask thumbnail is selected. Overall the portions of the photo that you don’t want to warm up paint with black. The thumbnail of the layer mask will change. The Color Balance layer only affects white areas.
Step 3: Adjust Levels
It is necessary to breathe life into the image in the final step. Therefore, product photography should be precise while also being visually appealing.
Select Levels from the drop-down menu under ‘New fill or adjustment layer. The Levels window will appear. To increase the amount of contrast in the dark areas, move the black slider to the right.
Other Photo Editing Services Recommended by Experts
There are a few editing services that you must undertake for your product photo as a retailer when it comes to eCommerce product photo editing. To convince clients, product photos must always appear clean and appealing.
Background Removal
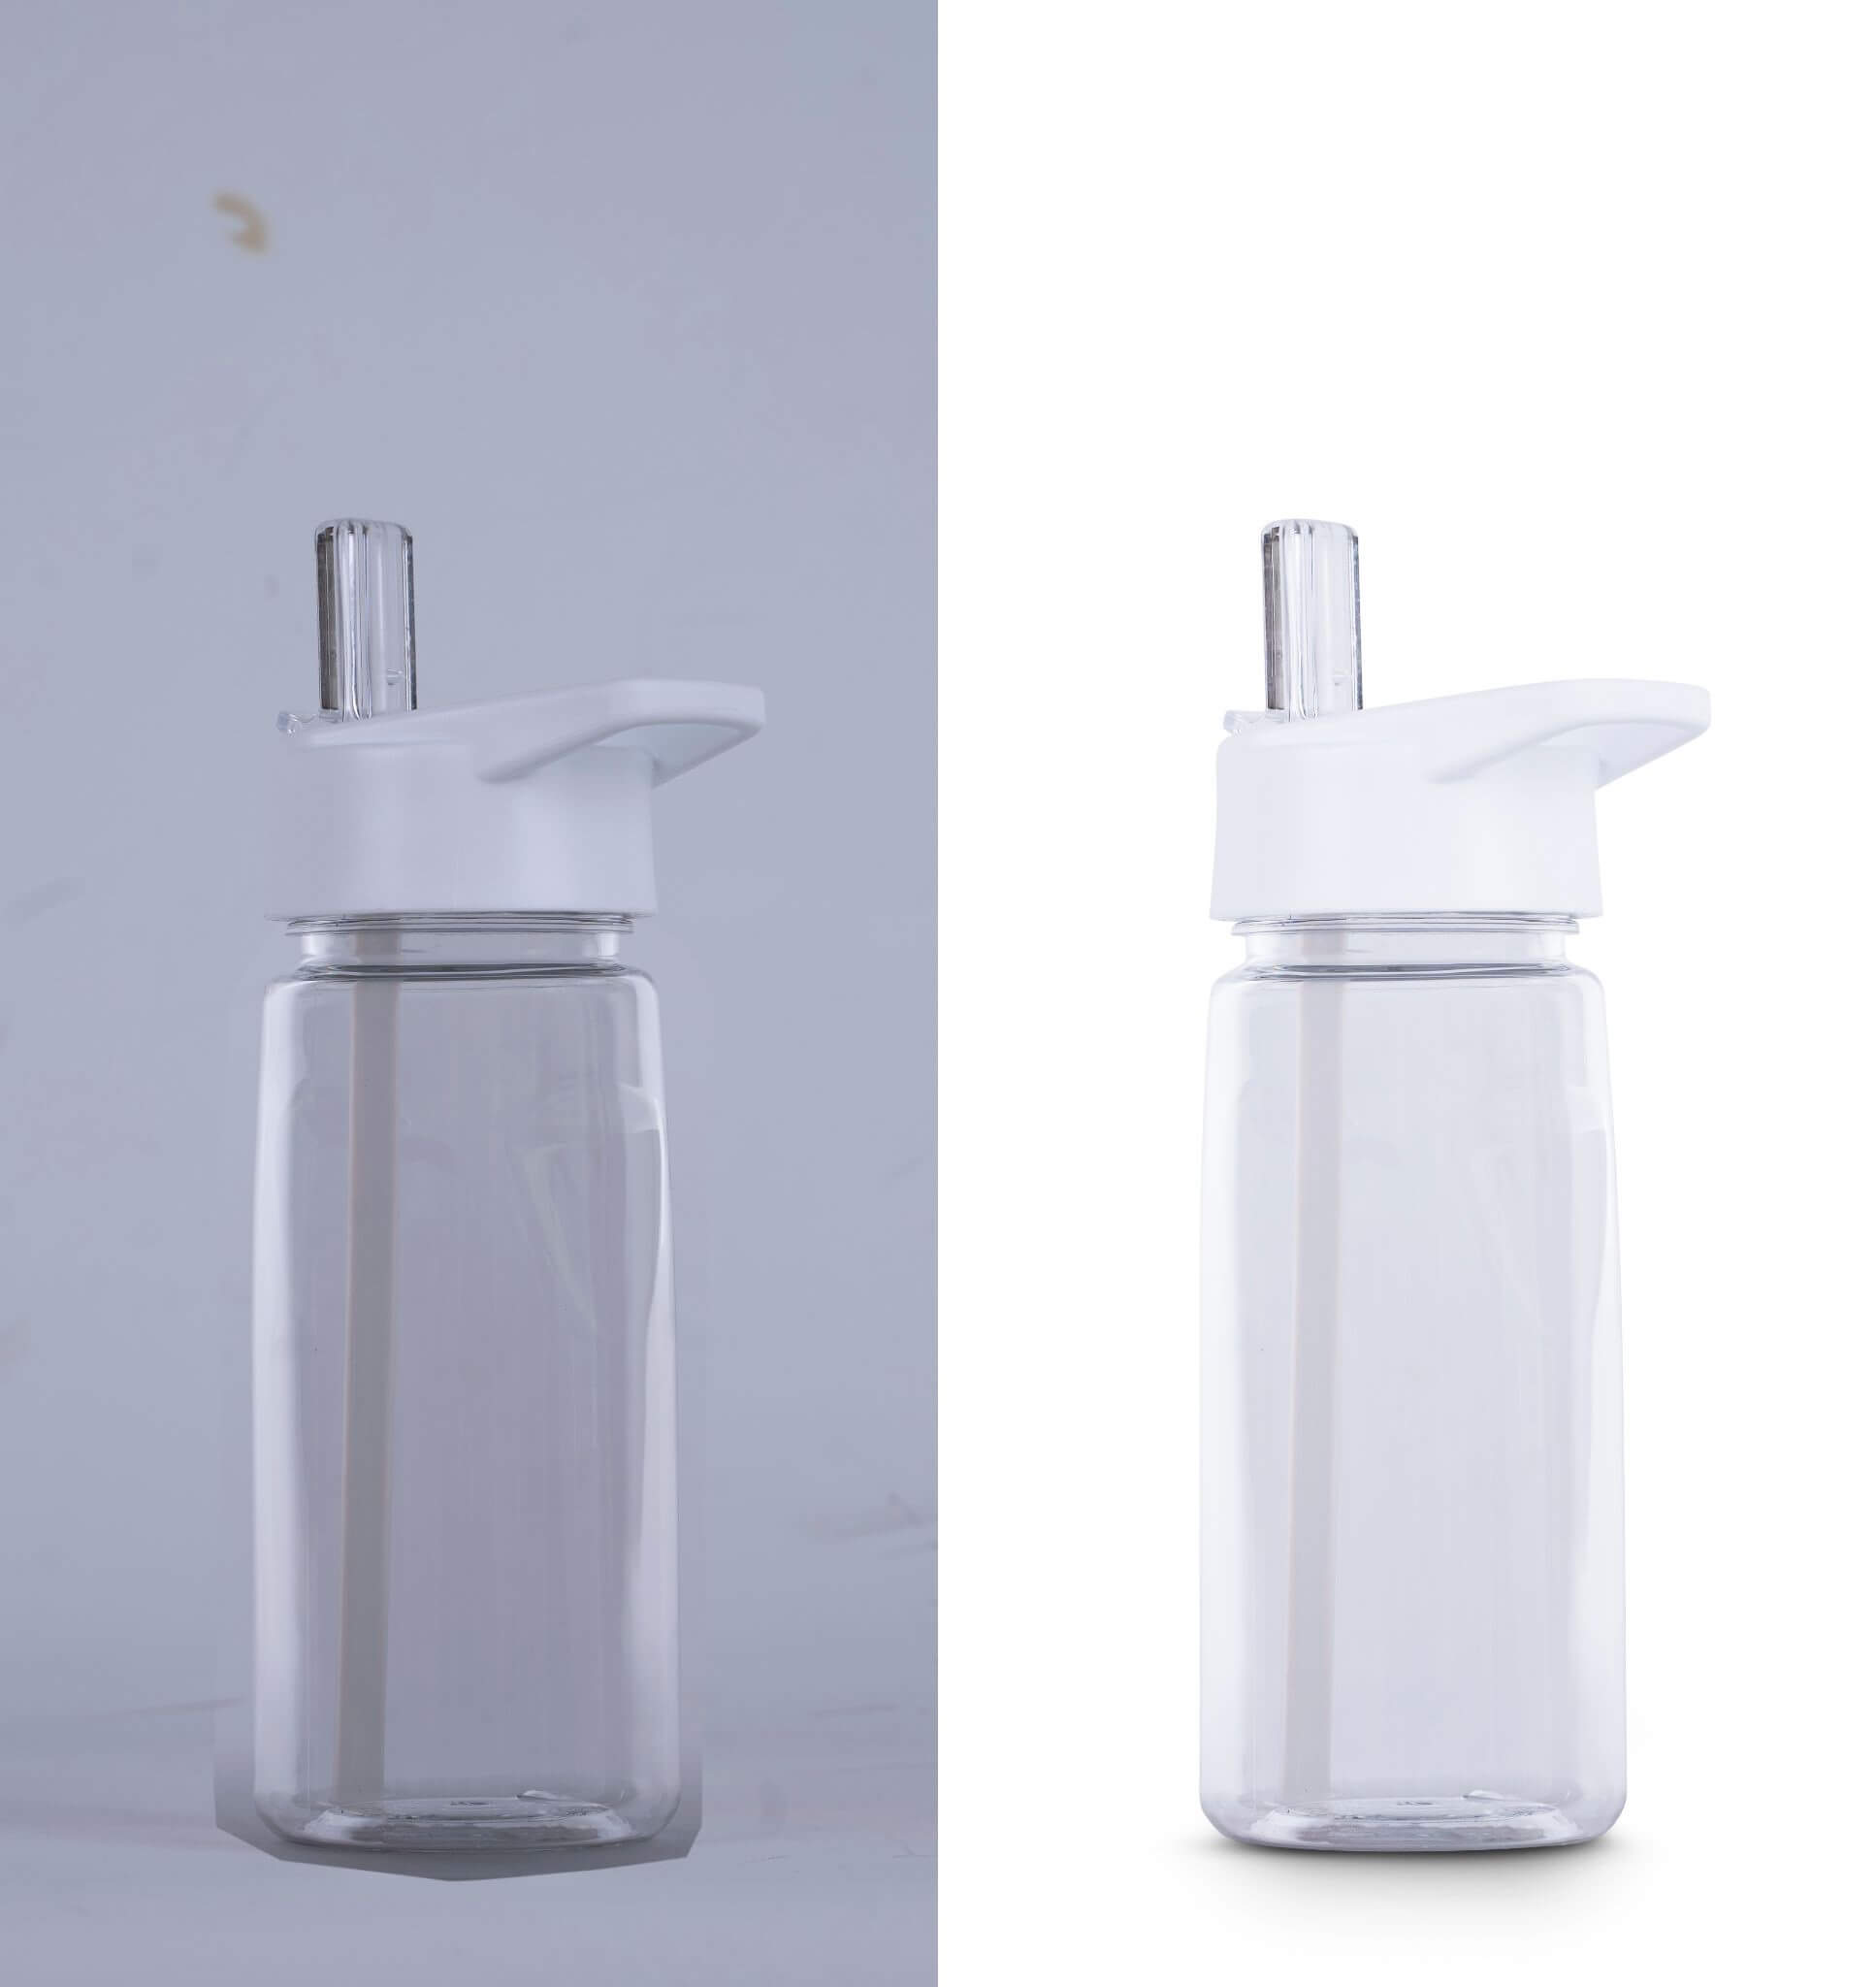
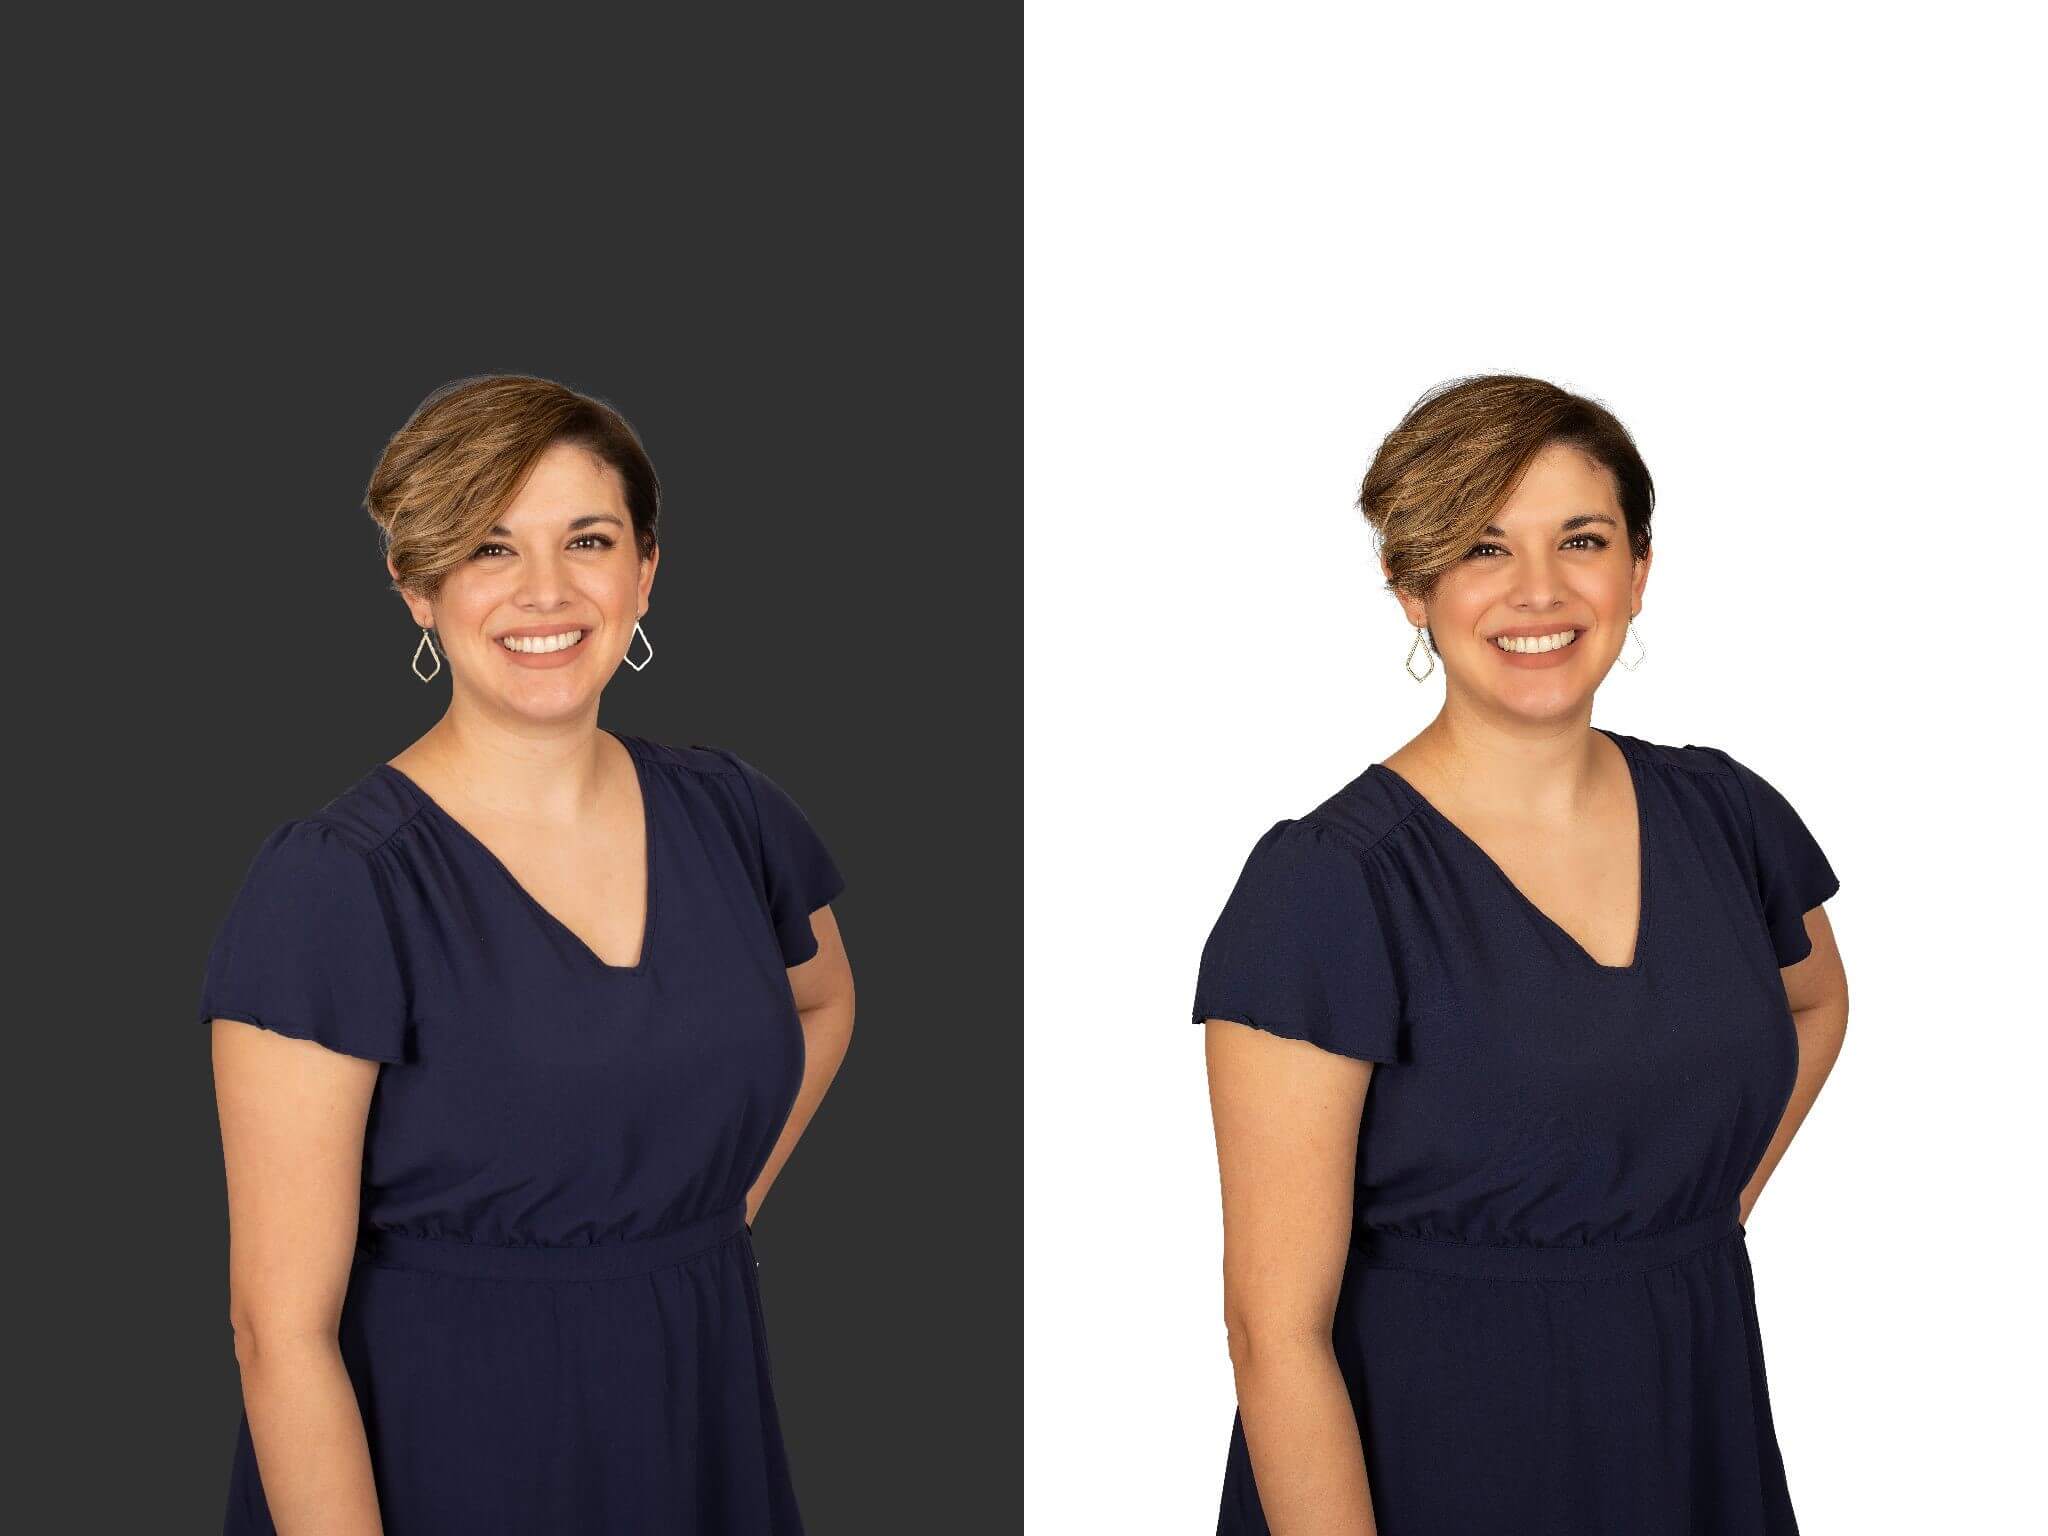
One of the most typical product photo editing activities is removing the backgrounds. As a result, taking images with a white background is recommended to avoid the time-consuming removal of things from the background or decolorizing it.
There are numerous advantages to removing backgrounds from an image. Customers will be able to focus on the object in the photo without being distracted if they do so. There are a variety of tools available to help you remove the backdrop.
Photoshop also has a rapid selection tool called “Select and Mask.” Photoshop, on the other hand, does not give you complete control. Thus the selection may not be precise.
White-Balanced Images
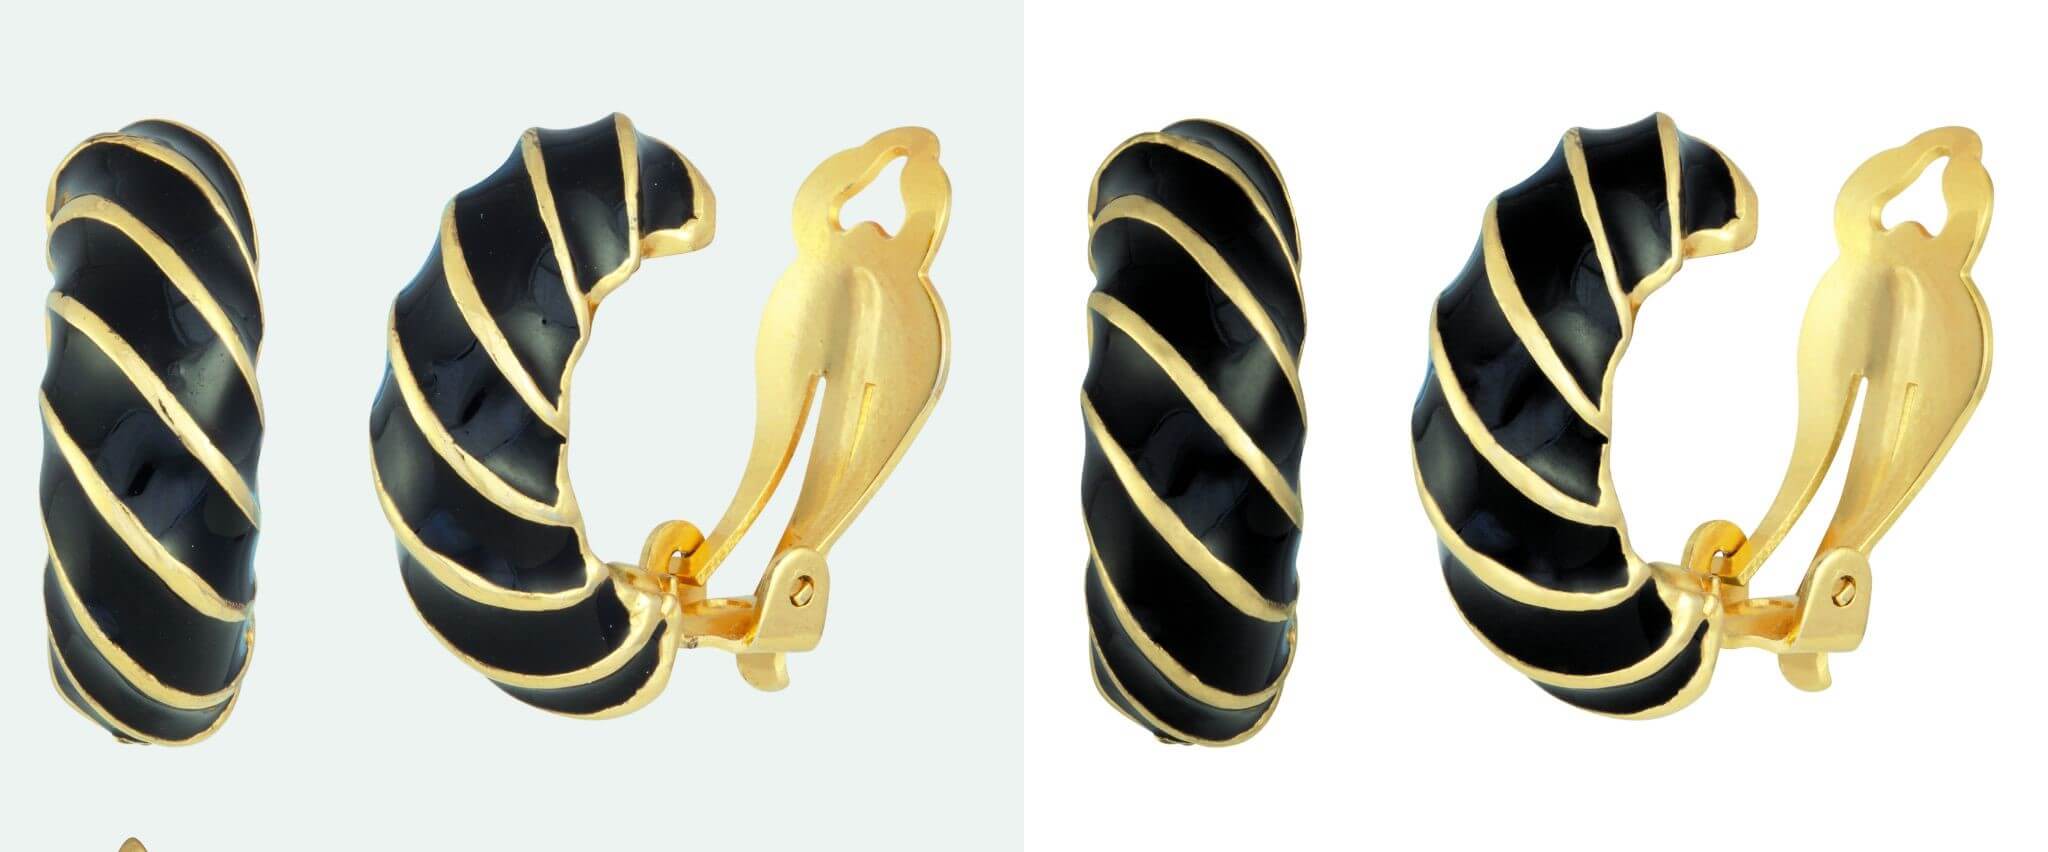
Be diligent and pay attention to little details when taking a picture of your product. The white balance can be thrown off by changes in lighting, camera settings, and other factors.
If your image’s whites aren’t properly portrayed, you can use Photoshop to change the white balance.
You will also need to adjust your image’s color balance to match the color of your product in reality. To accomplish this, use the Curves Tool in Photoshop.
Color Tweaking
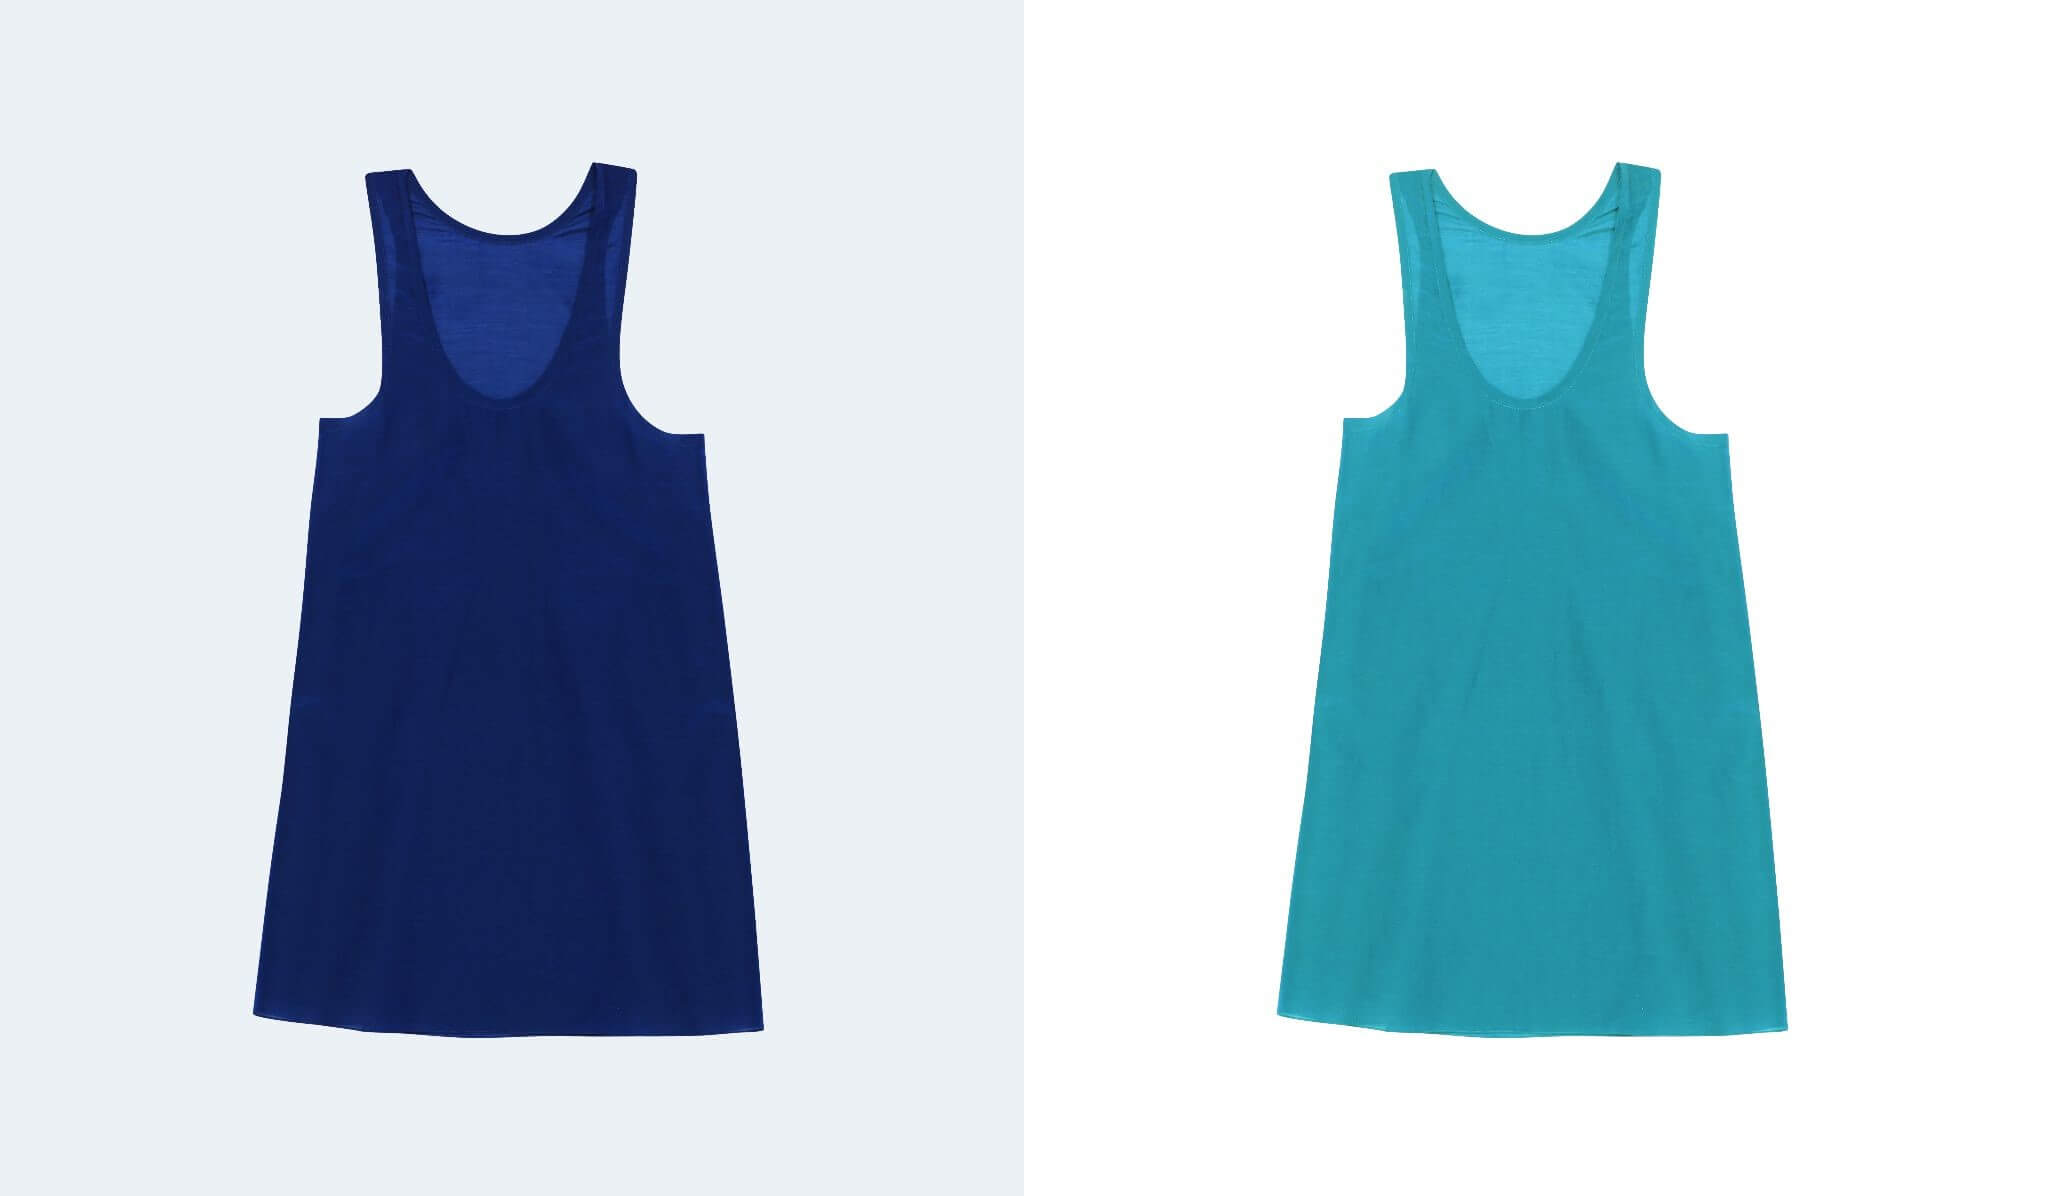
Certain colors, such as neon, are not able to be captured by some devices. To acquire the required shade, you’ll need to adjust the color of the images. This approach allows you to eliminate the washed-out aspect and make your photos look more natural and appealing.
Apply the simple & basic color correction feature of Photoshop to make the colors in a photo look like they would in reality. This option is for adjusting the color and saturation.
Go to the Image tab, Adjustments, and select Hue/Saturation. To acquire the desired hue, move the triangle slider in both directions.
Use Unsharp Mask Tool
Unsharp Mask is a Photoshop function that helps you identify edges in the item you’re about to sell. It can darken one side of a product while lightening the other. In addition, you may sharpen your image by adjusting the contrast around the edges.
Select the Unsharp Mask from the Filters menu, then go to the Sharpen tab. To find out what parameters are ideal for your item, drag the slider.
Shadows
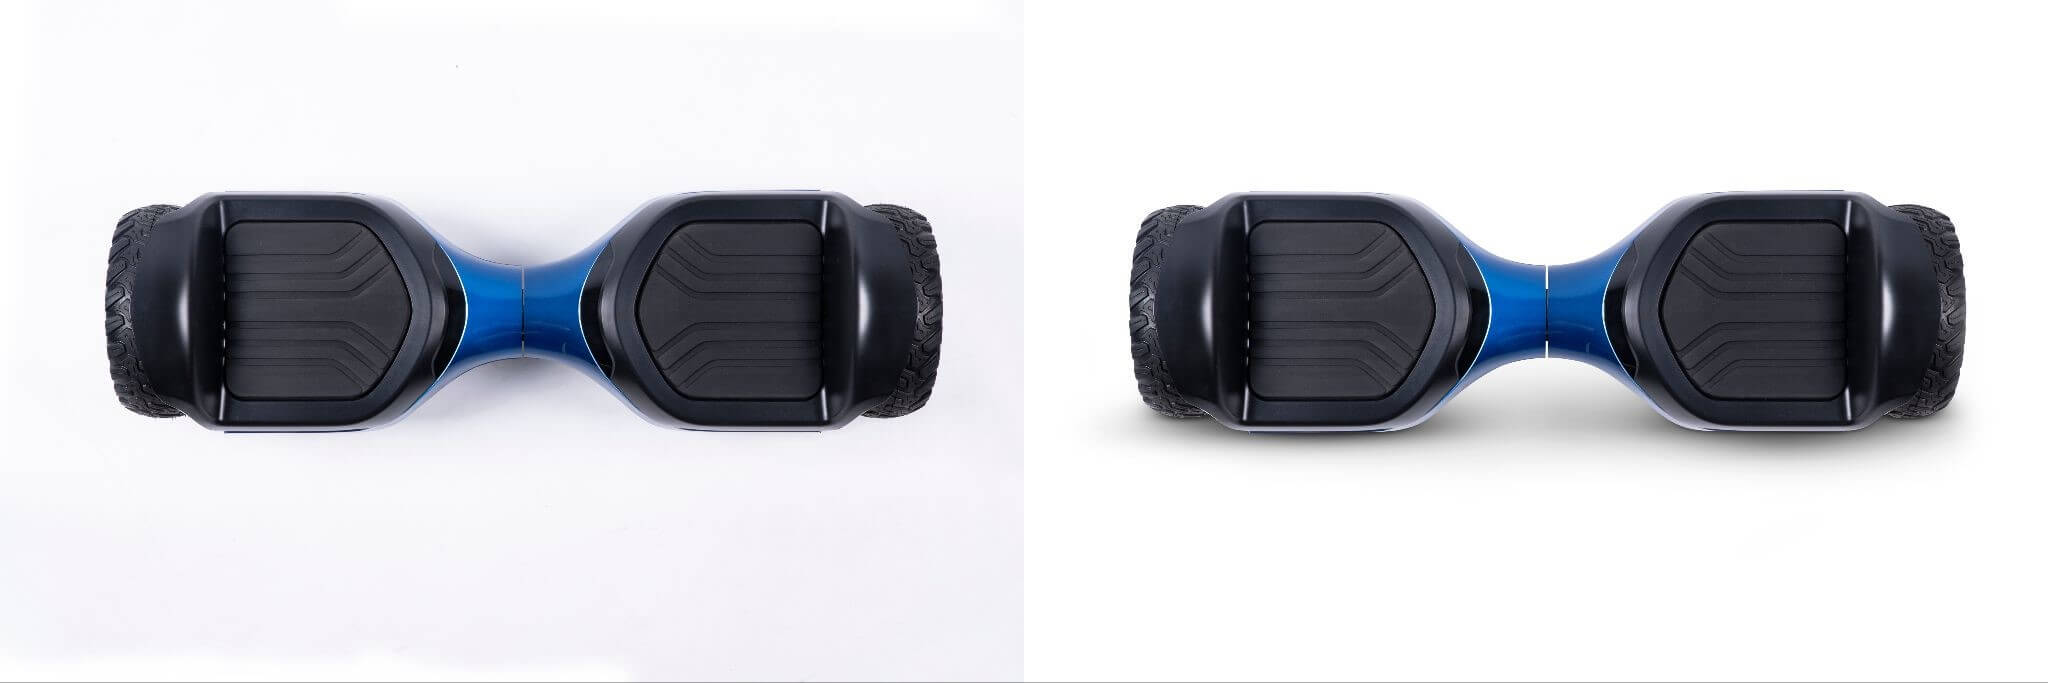
There are two types of shadows in product photography: the shadow that darkens your product and the shadow cast by your product.
The first type is unattractive because it diverts attention away from the offered goods. The second form adds a realistic dimension to the image, which attracts customers.
If you wish to add shadow to your image, there are two principles to follow. First and foremost, you must apply this effect so that it appears natural and consistent.
Second, things in the same category should create the same shadow. You can utilize reflection shadows and drop shadows when working with this effect.
Want to know in detail How to Take Pictures of Clothes Without a Mannequin? Here you can find out the easiest tutorial.
Ghost Mannequin Effect
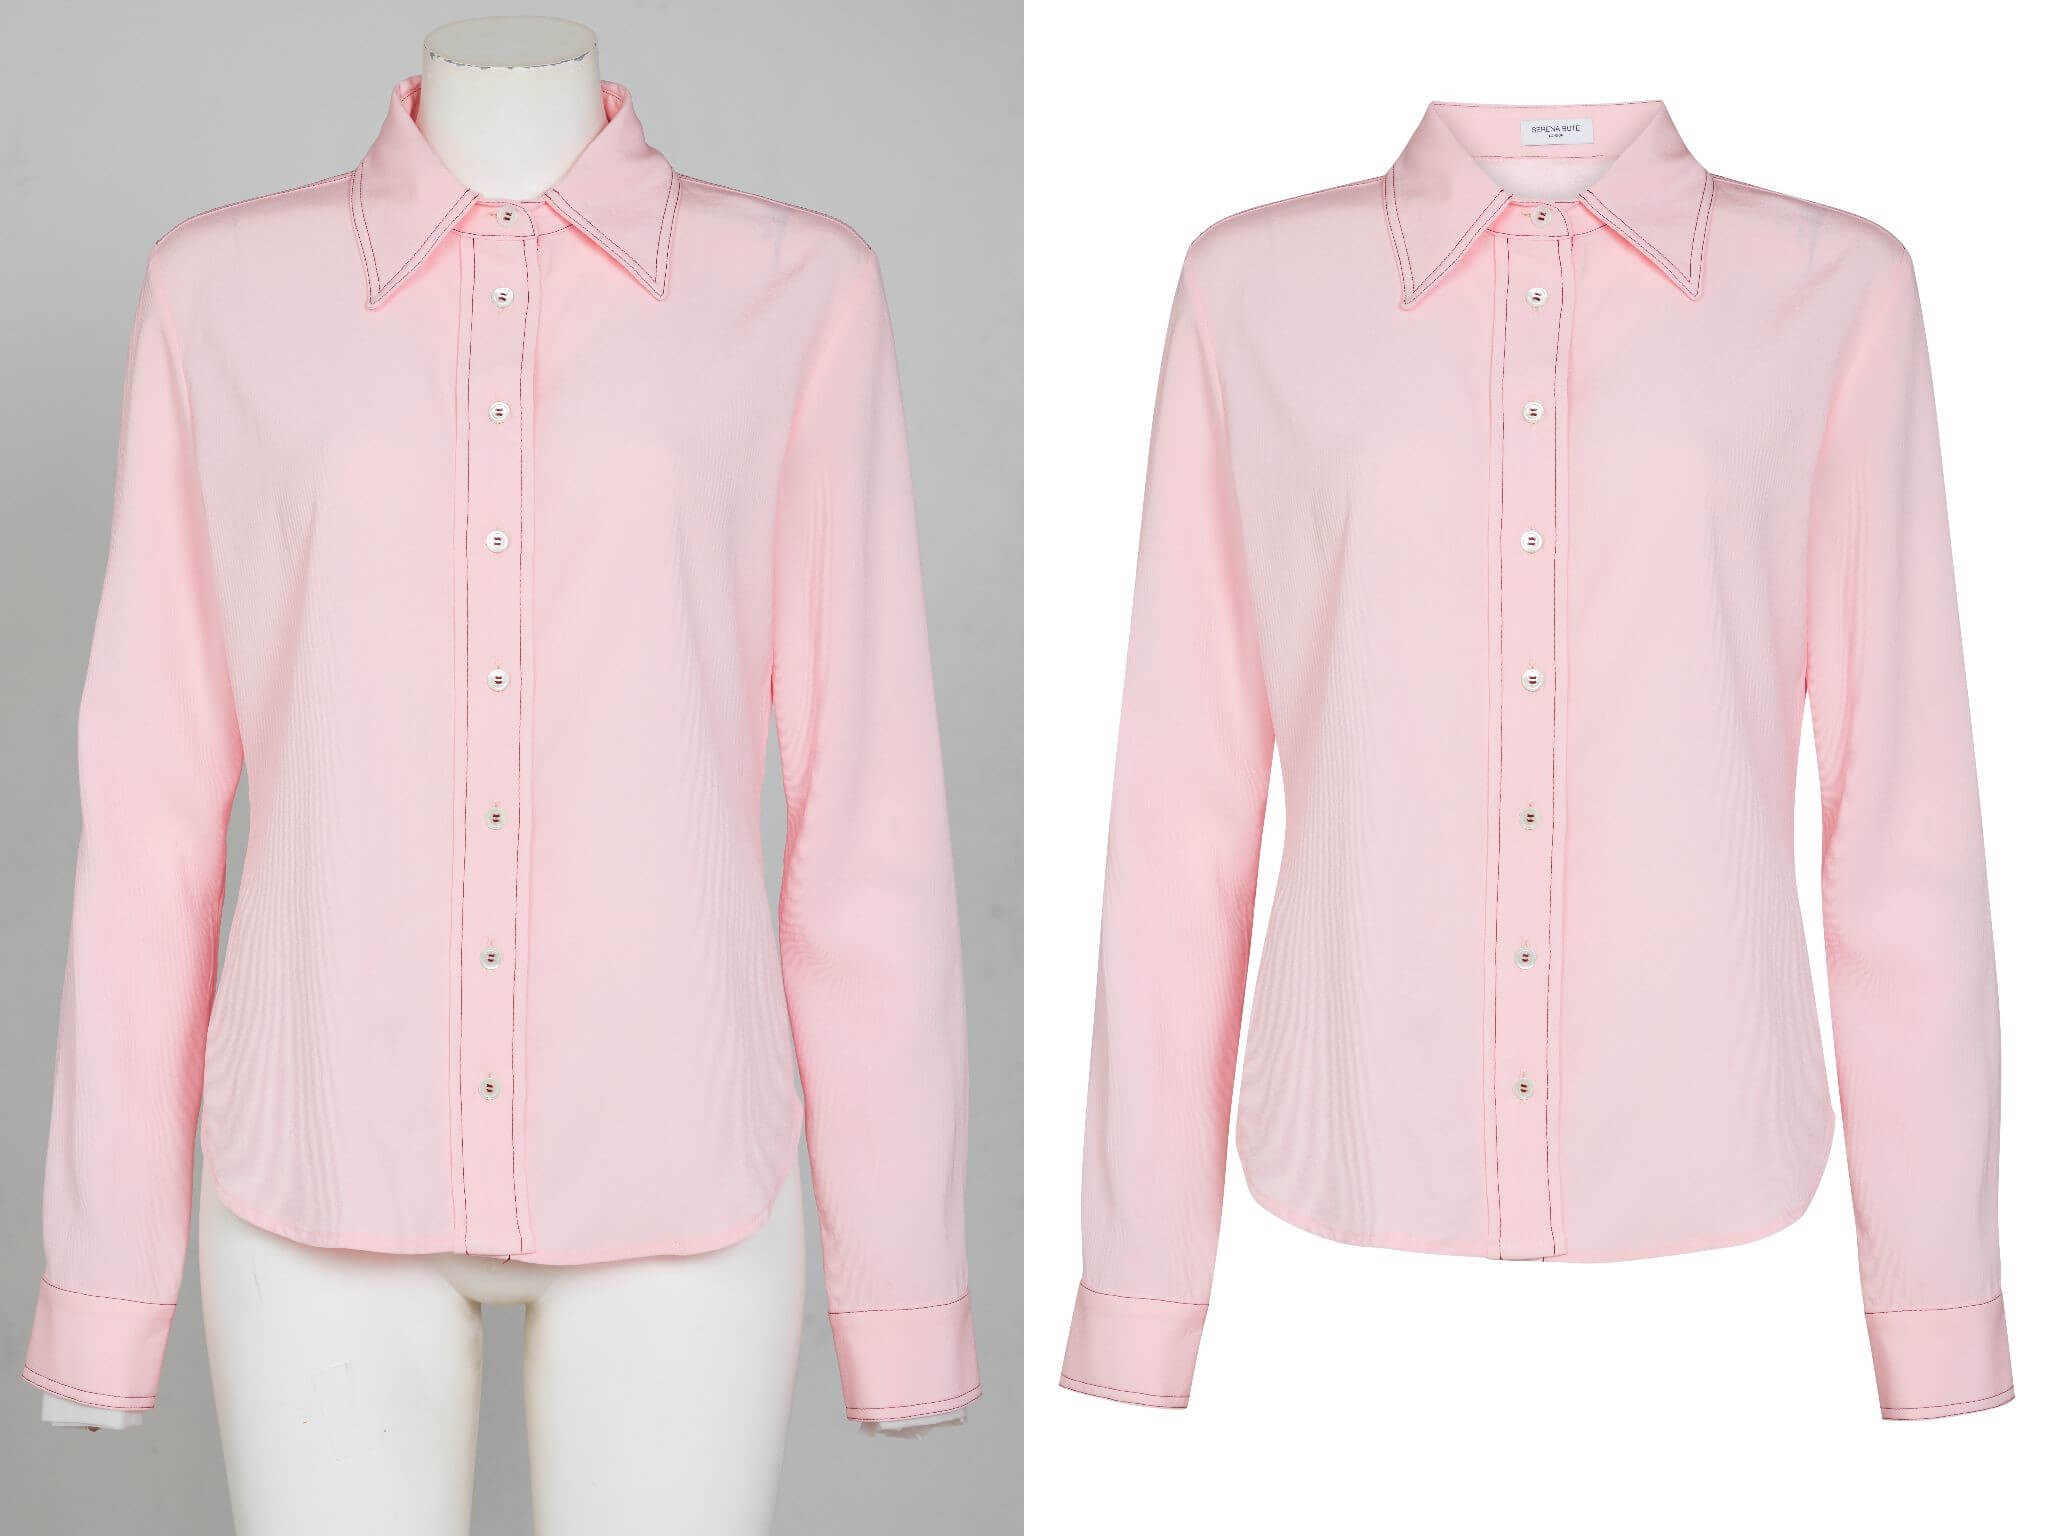
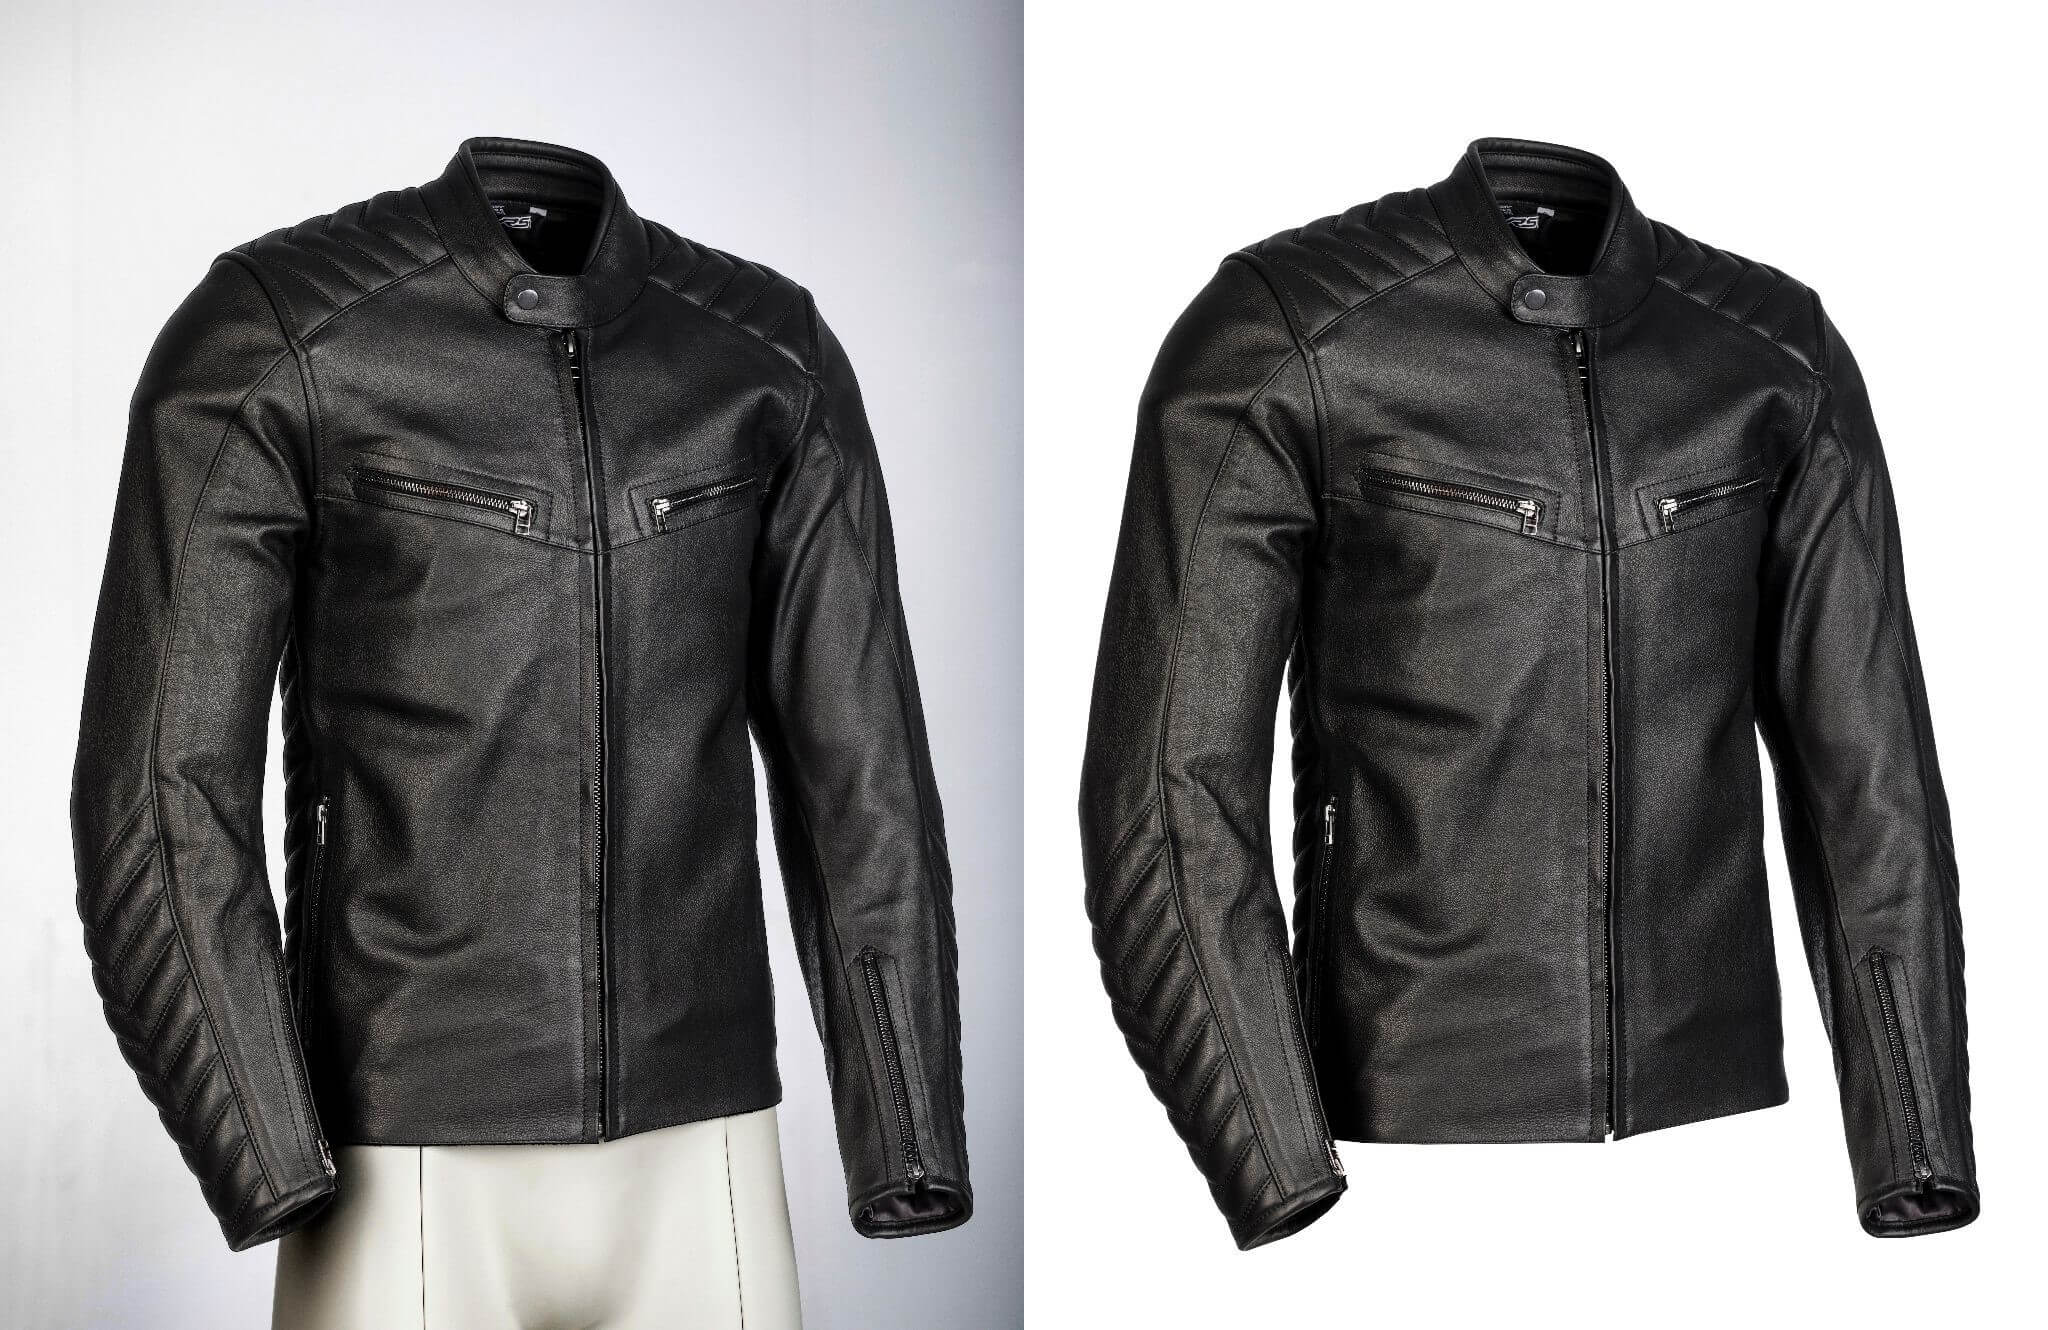
The ghost mannequin effect allows your clients to look at a piece of apparel from all angles and consider each detail in 3D.
This method makes it easy to create elements of your product that would otherwise be hidden when worn by a model. Consequently, you’ll have a stunning photo that focuses on your product, which will likely result in more sales.
This approach is critical for product photo modification in Photoshop because it allows shoppers to see themselves in an apparel item without exerting too much effort.
Final Words
As I indicated, it doesn’t matter which eCommerce platform you use to upload; there are a few universal things.
Aside from that, one thing to keep in mind is the size of your photograph, as different platforms accept varying sizes and formats of product photos. Read the picture guidelines carefully and adhere to them.
It doesn’t matter if you’re an experienced or inexperienced online shop; knowing how to edit product photographs properly can make or break your business.
Try Cut Out Bees for free
Use Cut Out Bees to get more conversions for your online store with better product images.
Product Photo Editing | Clipping Path | Background Removal | Shadow Creation | Invisible mannequin | 360-degree Spin | eCommerce Photo editing | Model Retouching

